Introduction
Descope's integration as an OpenID Connect (OIDC) provider enables seamless authentication using federated identity with Ping Identity. This capability allows you to leverage Descope's passwordless methods and passkeys while maintaining Ping Identity as your primary identity provider. The process ensures that user identities are efficiently managed and consolidated. Follow these steps to configure Ping Identity to use Descope as a federated OIDC provider.
Setting up Descope as OIDC Provider
You will need to either create an OIDC Application or use the default one to use Descope as an federated OIDC provider. You can find these in the Descope Console, underApplications. For most applications, you'll just use the Default OIDC application found here.Descope Flows are hosted with our Descope Auth Hosting Application. Learn more about our hosted app here.
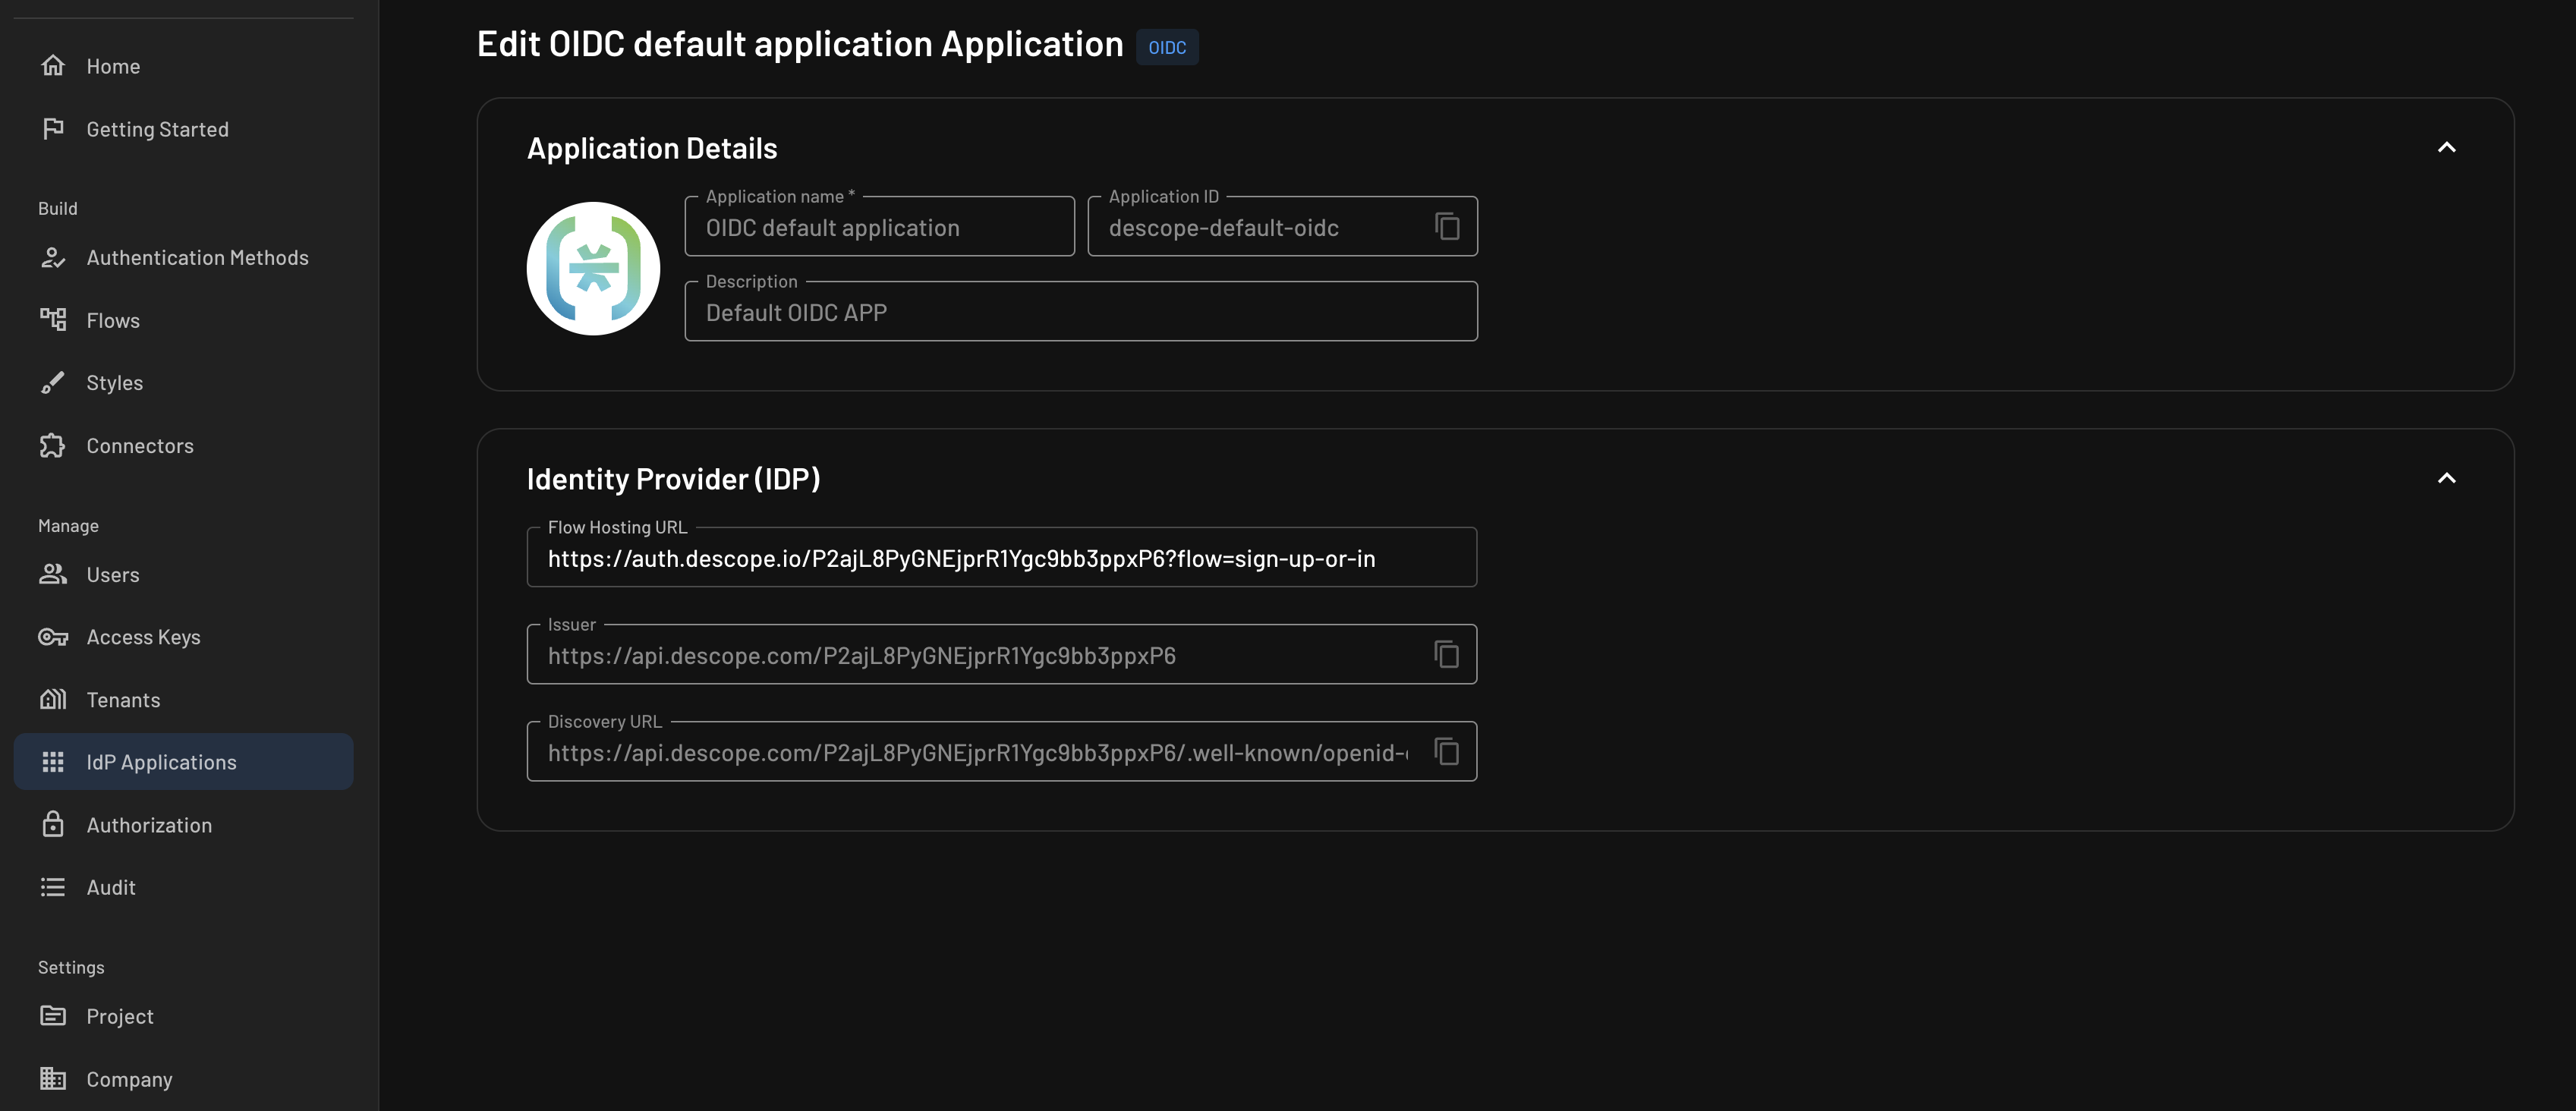
NOTE: Keep this page open as you'll need this information for subsequent steps.
You can customize the UI of the login screen in the Flow Editor.
Configuring Ping Identity to Use Descope
Configuring the OIDC Application in Ping Identity
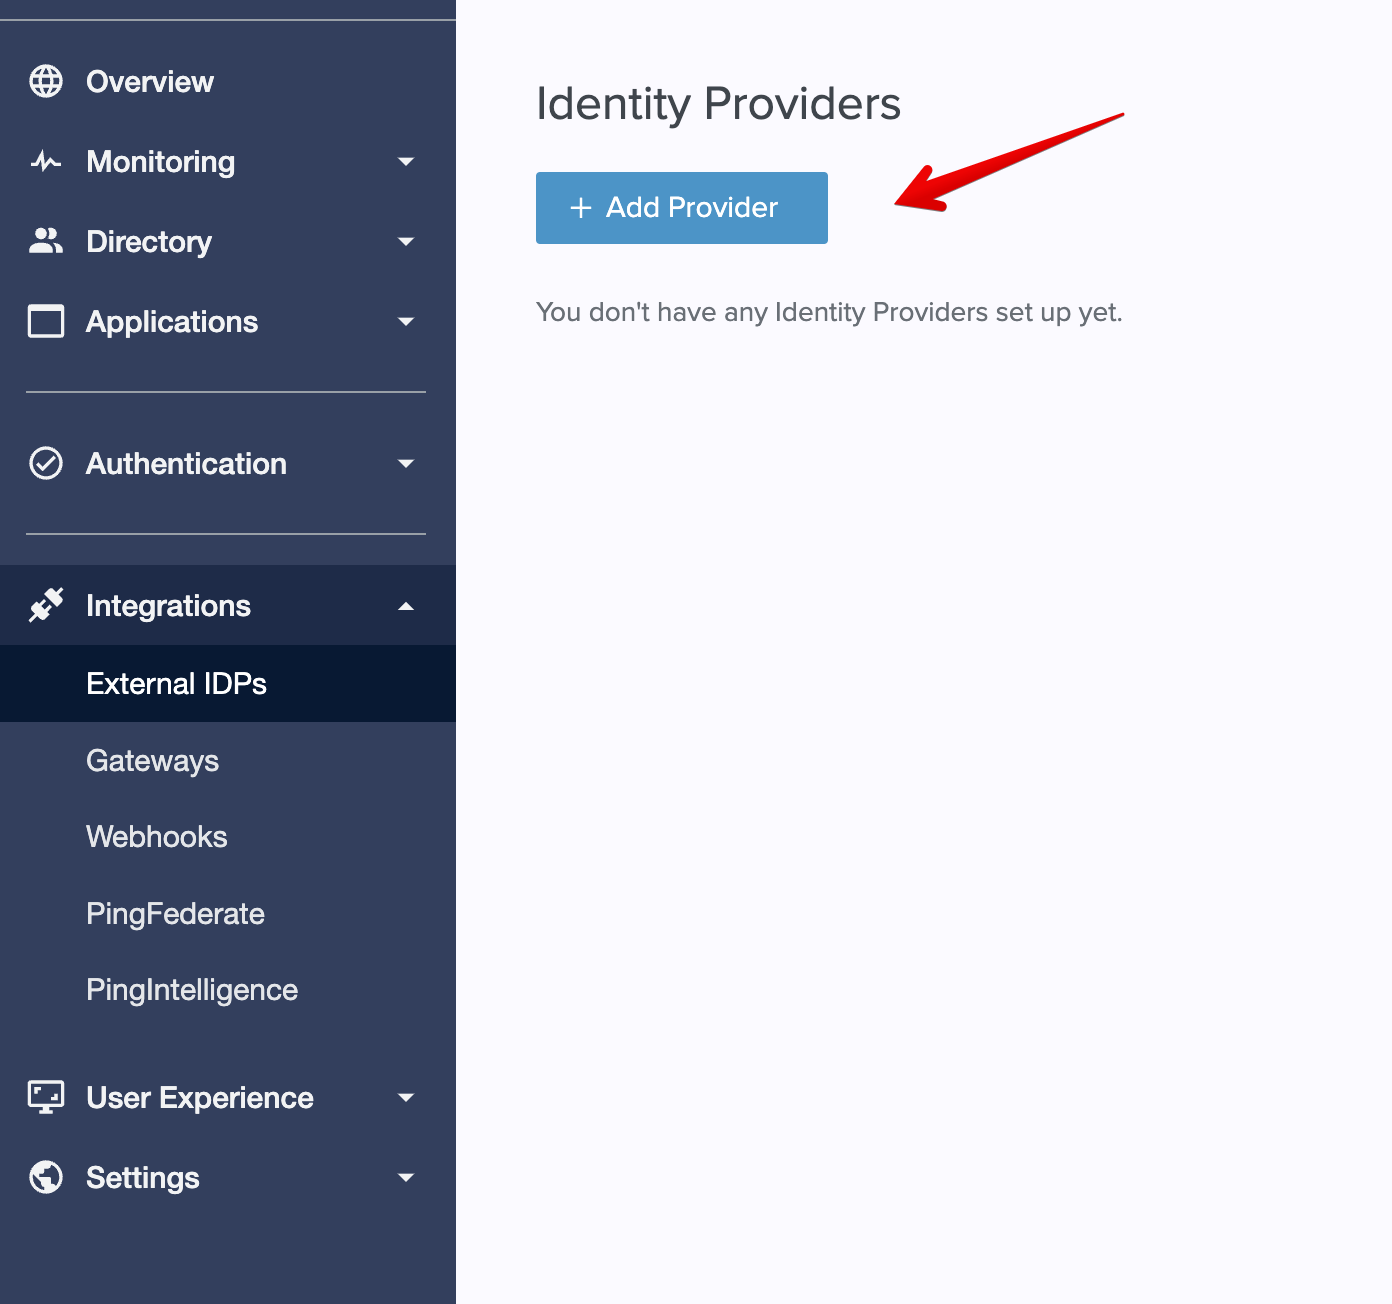
- First, you'll want to create a new
External Identity Providerin Ping, as shown here:
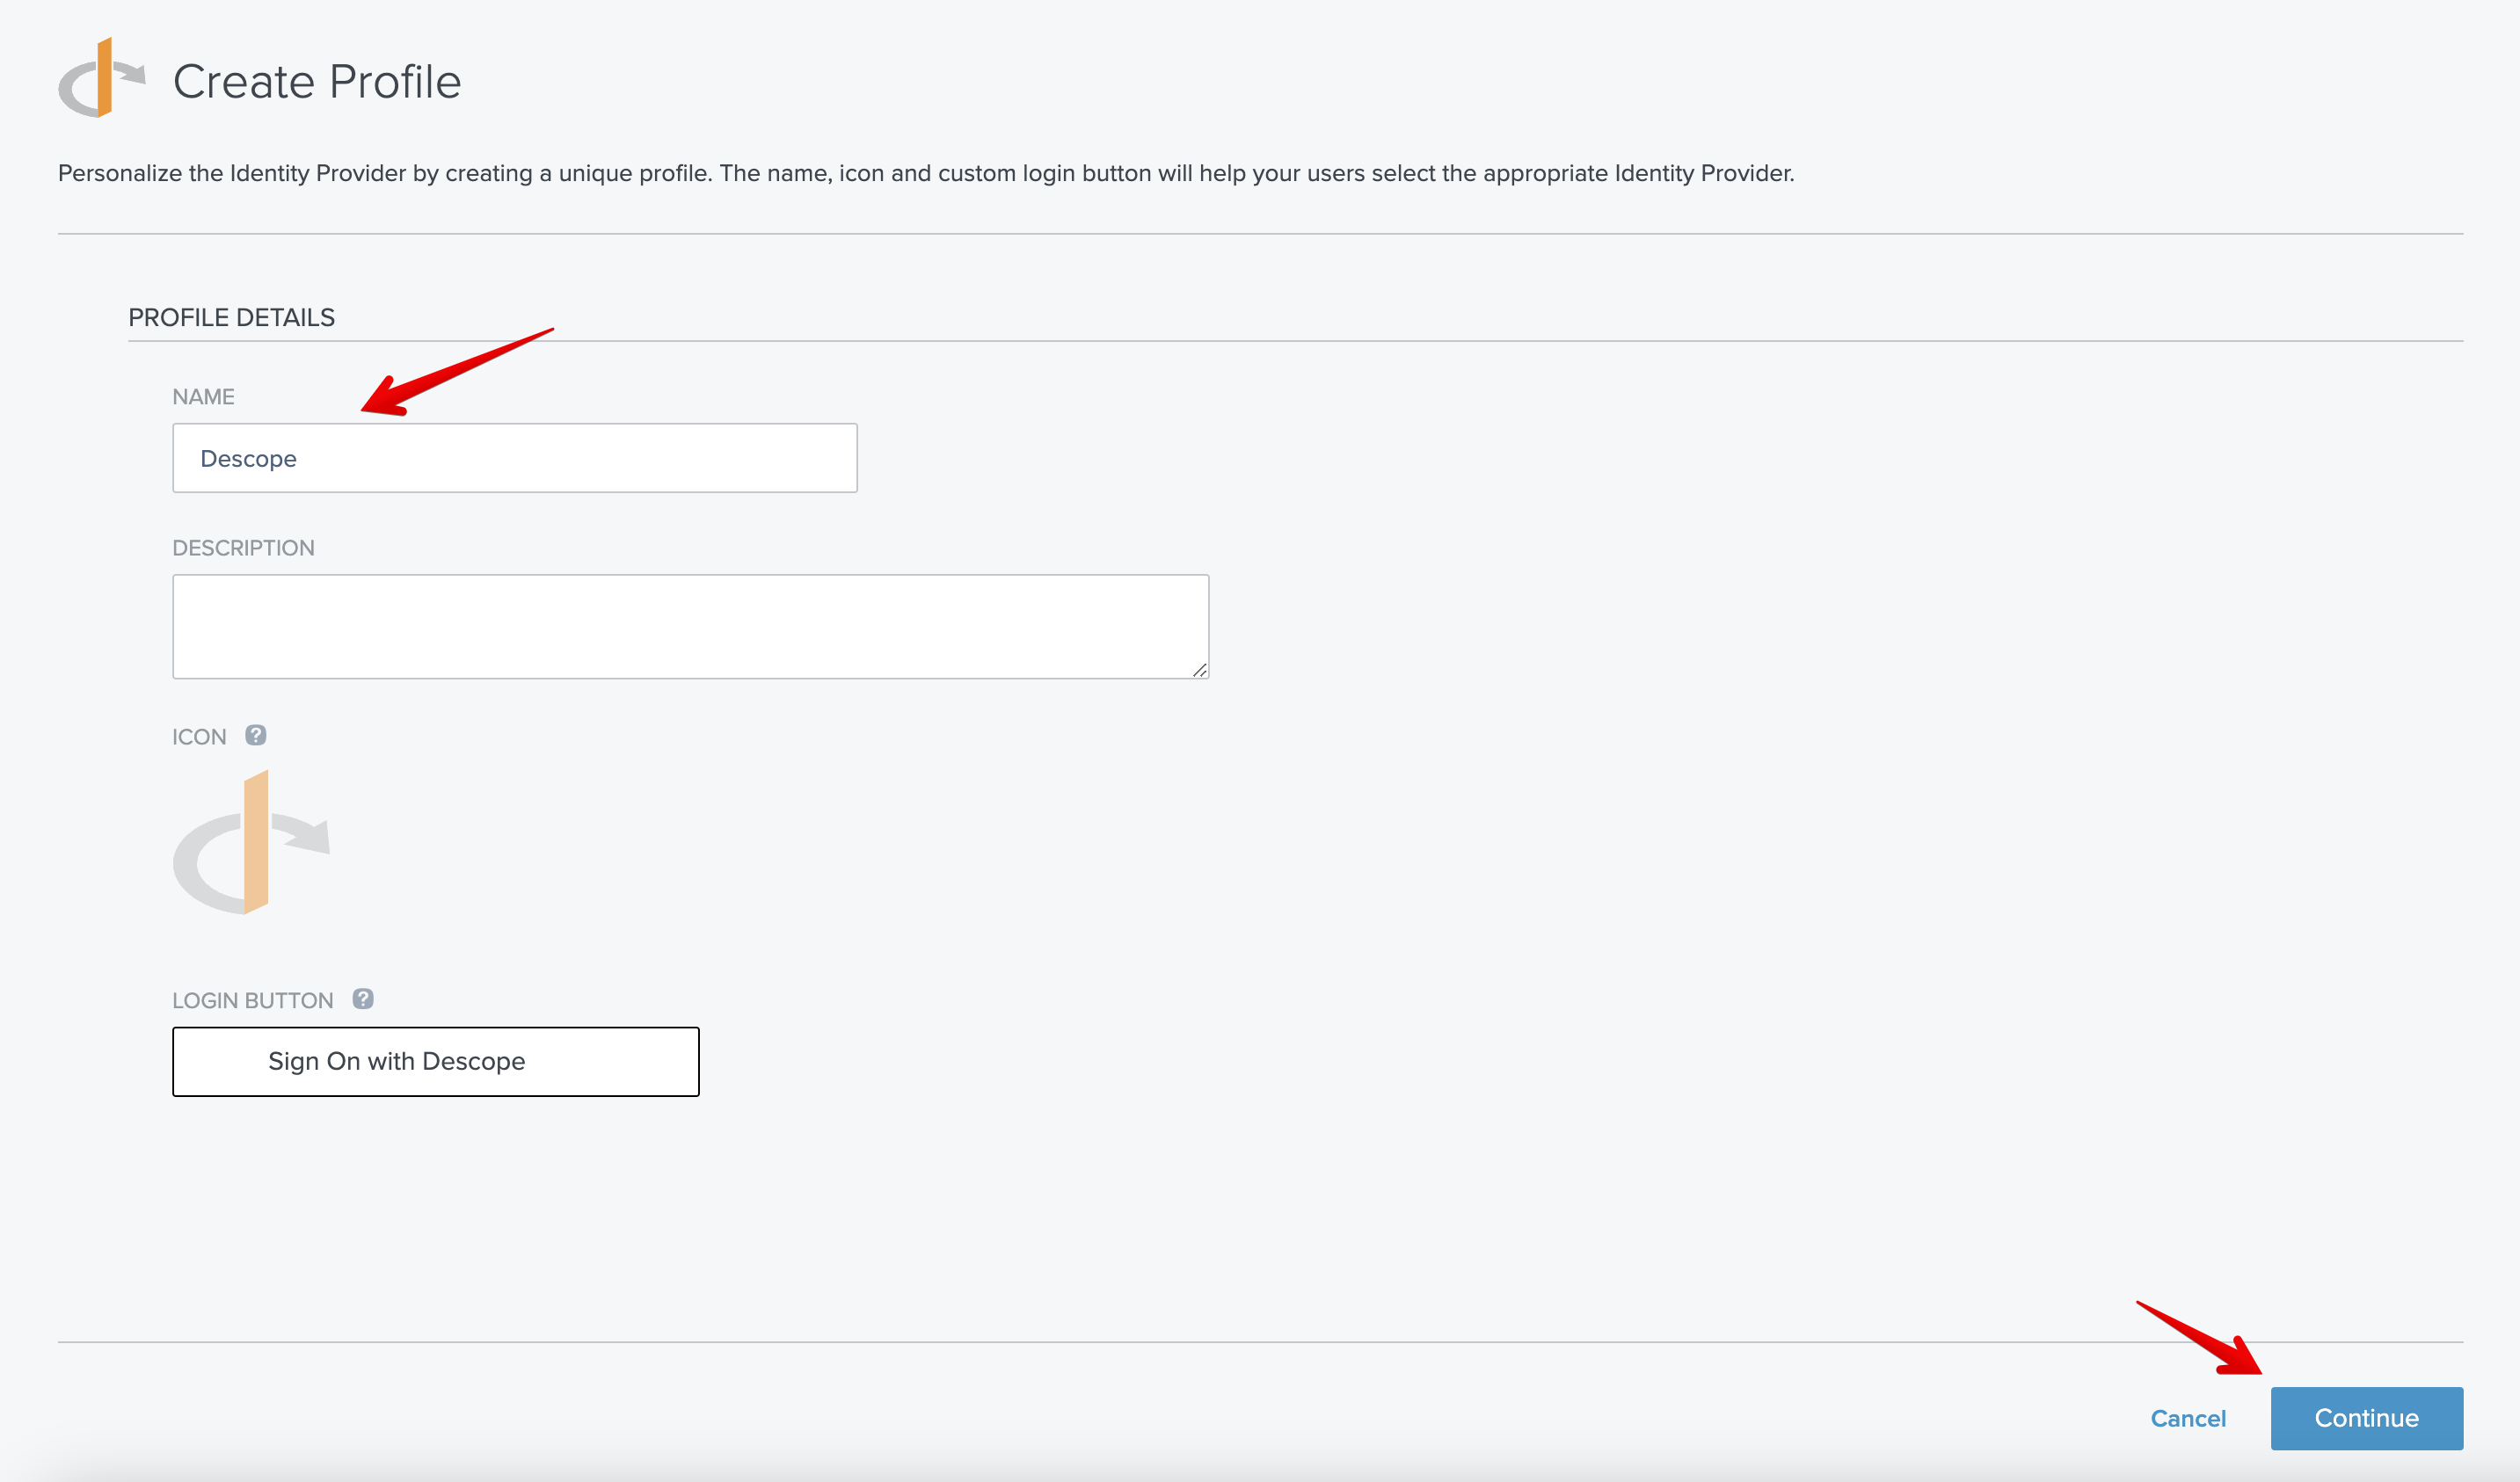
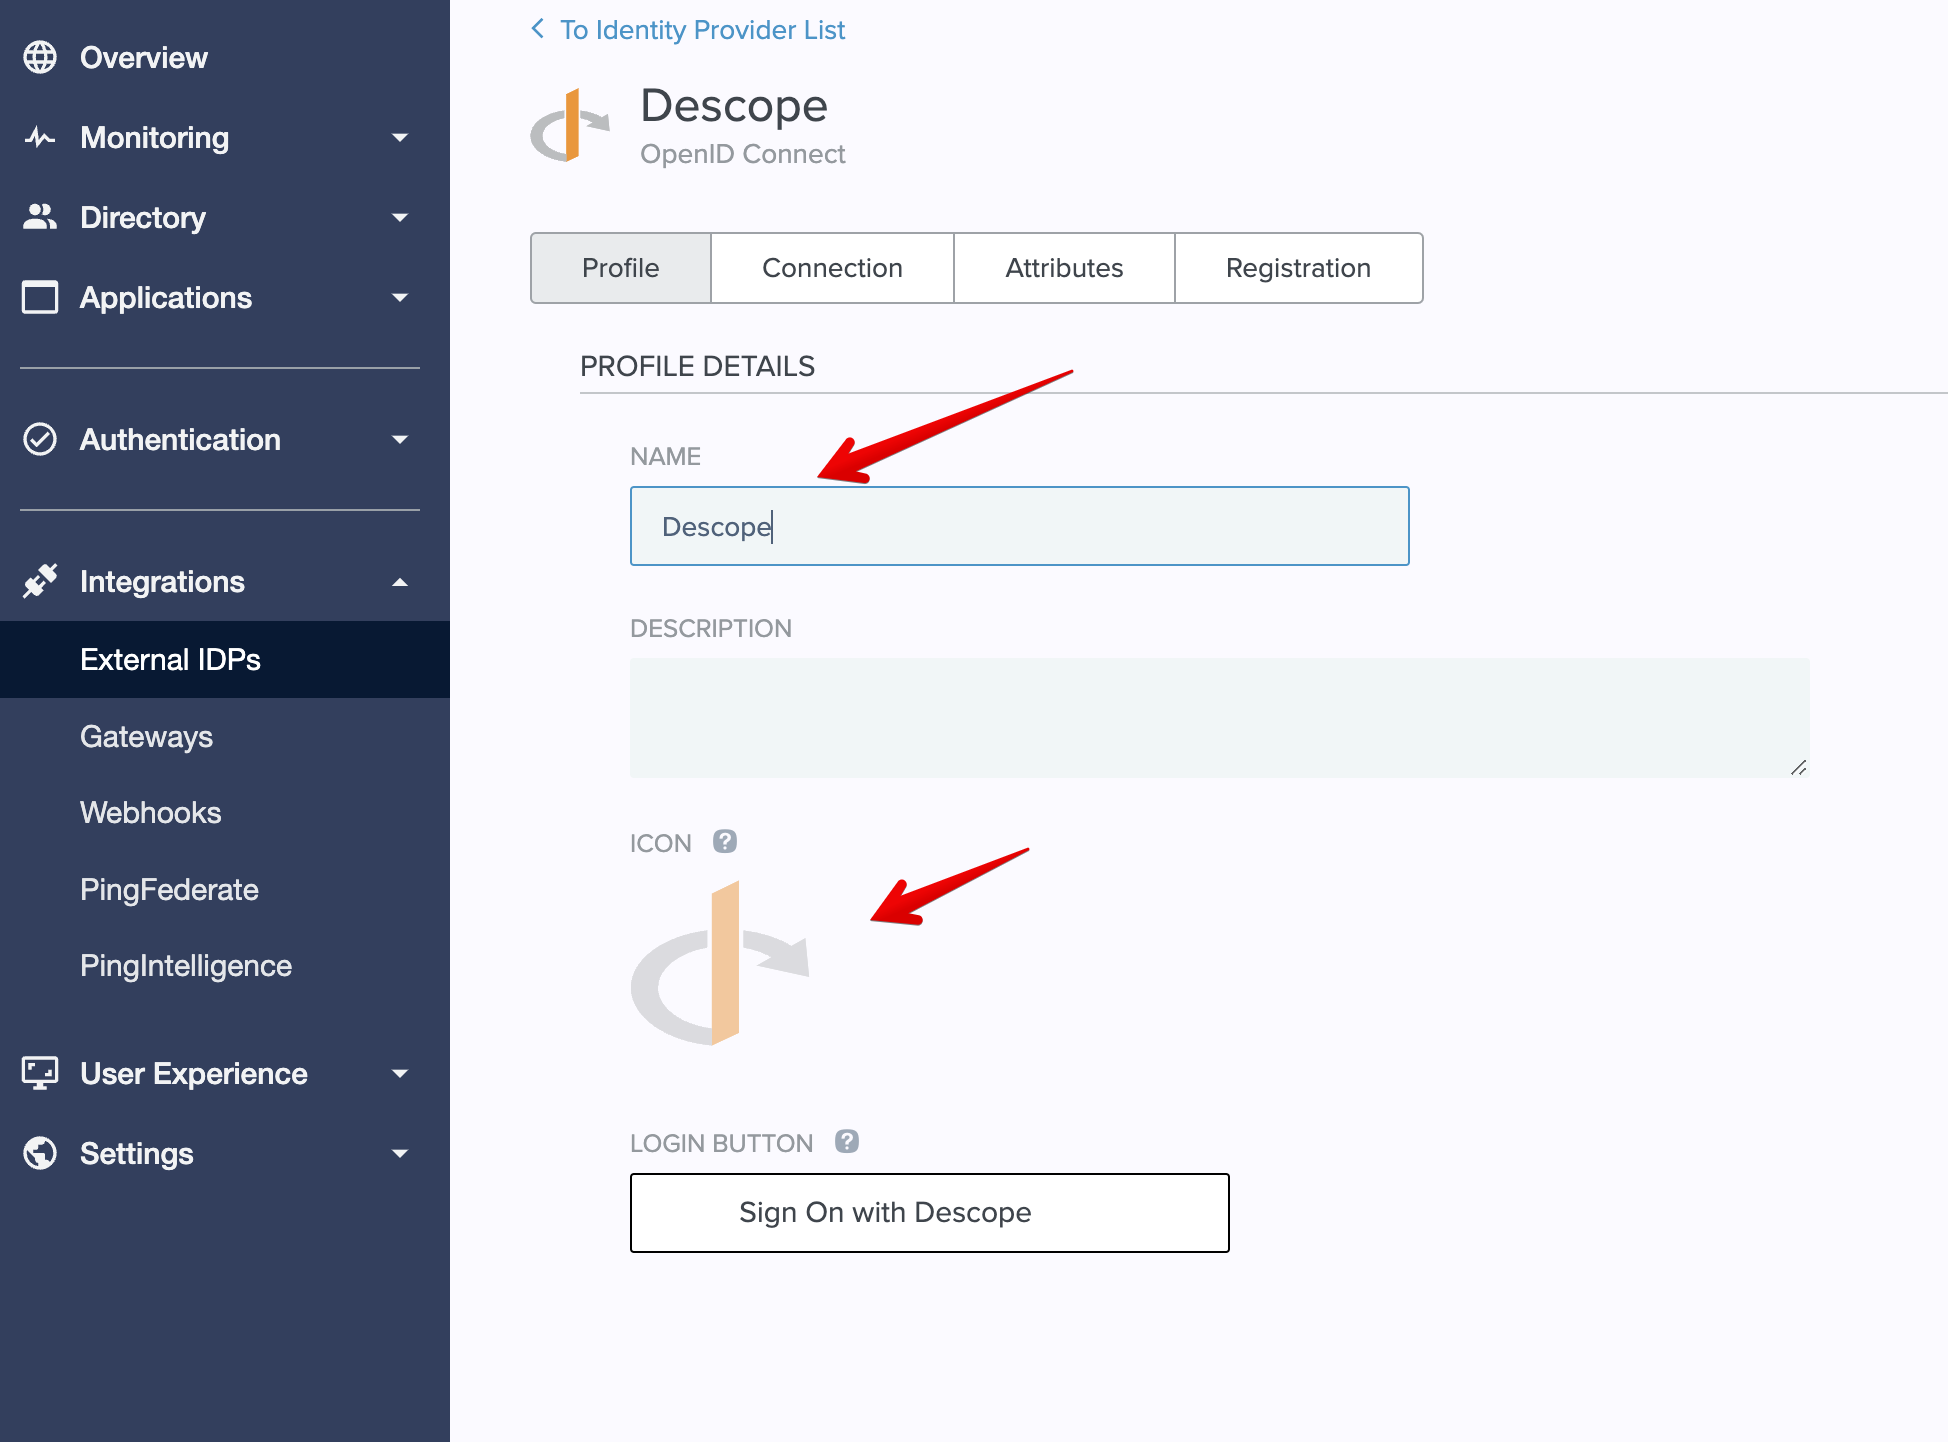
- Next, you'll need to select
OpenID Connectas the Provider Type, and give your new external IdP a name. In this case, it's calledDescope:
- Then, you should input the following items from Descope:
- Client ID: Your Descope Project ID from Project Settings in Descope
- Client Secret: An Access Key from Access Keys in Descope
- Discovery Document URI: Found under your IdP app configuration: Applications -> Default/Custom App -> Discovery URL in the Descope Console.
Your configuration screen in Ping Identity should mirror the following setup:
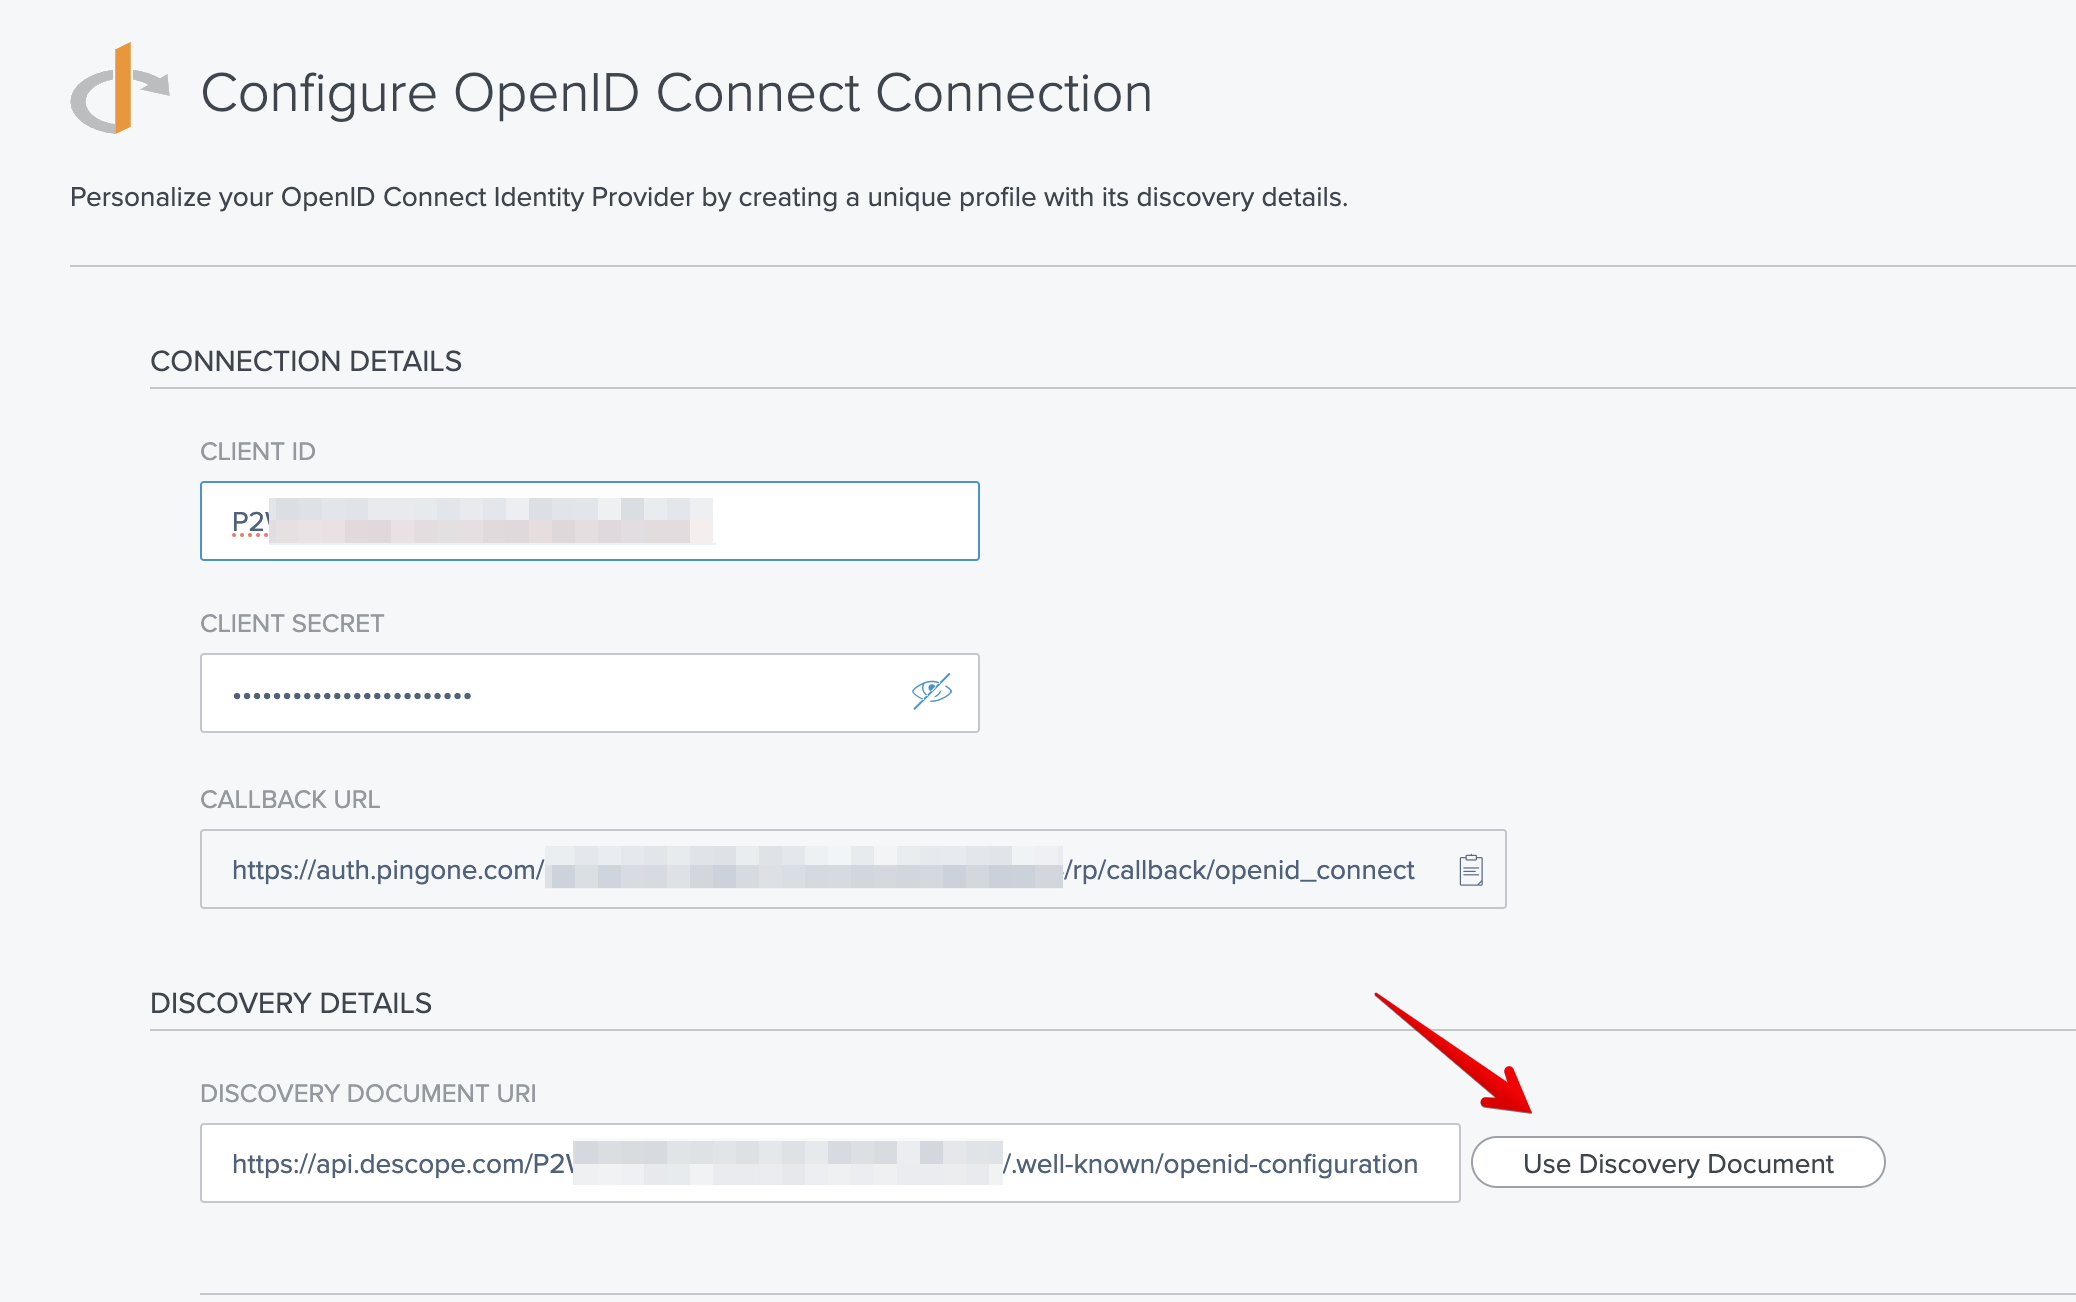
Use Discovery Document after pasting in the URL, and all the remaining fields should automatically populate.- Afterwards, you can make sure that your attributes are mapped properly. You can adjust custom claim mappings in Ping Identity post-authentication by matching keys from Descope's
Custom Claimsaction with Ping Identity's attributes.
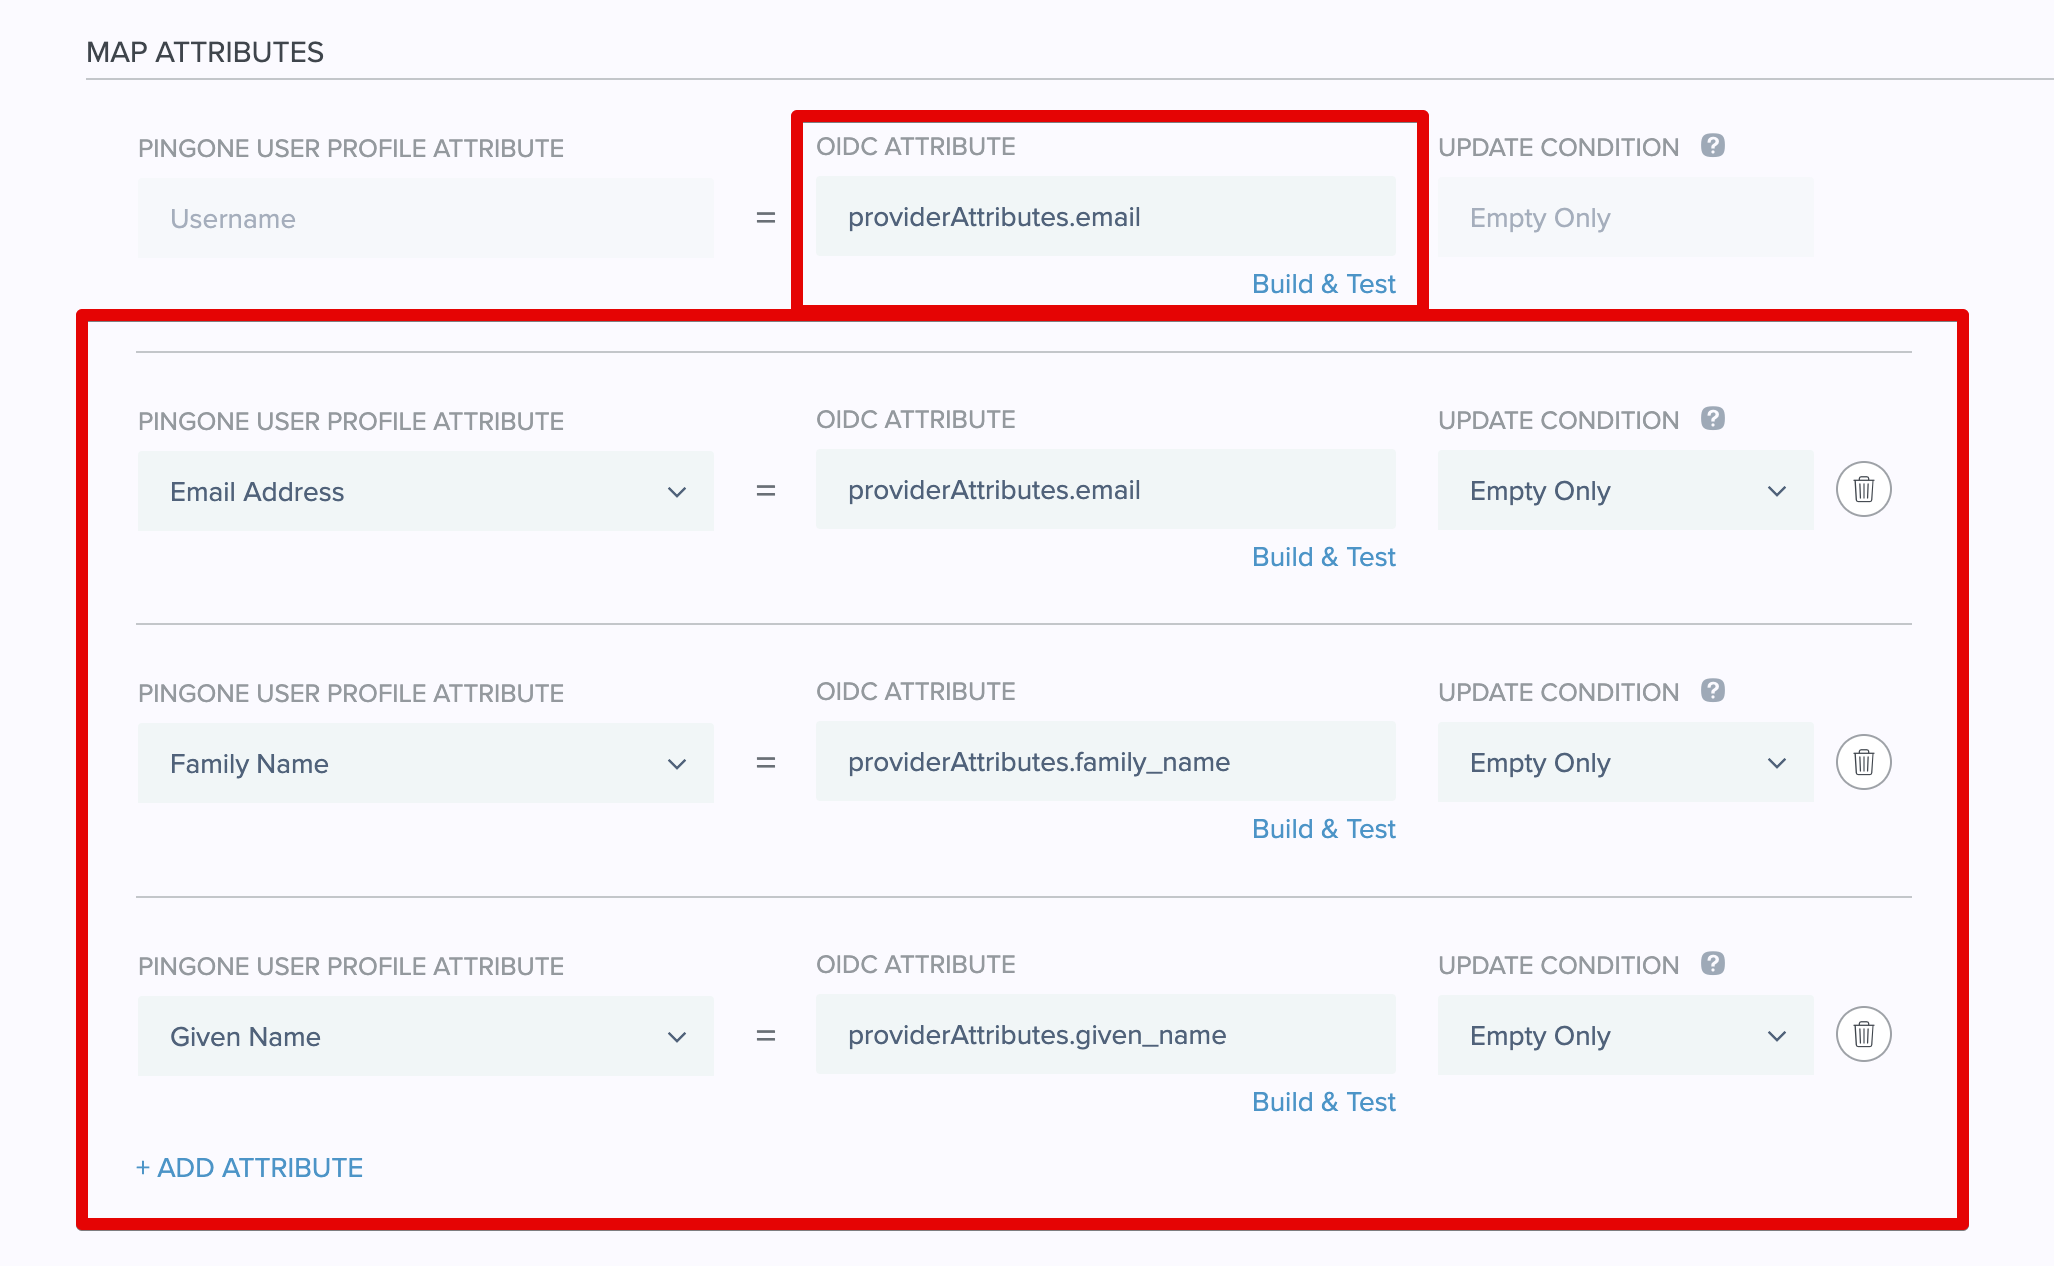
Note: You can make theUsernamemapped to any identifier you want by simply changing theproviderAttributes.subvalue.
Once you've configured this, you're almost all set to use your new external IdP with Ping. The logo and name of the button can be adjusted on the main configuration screen here:
The only thing left to handle is the user linking, to make sure that users that sign in via Descope, as also the same users as what is provisioned in Ping. By default, this is something that is not enabled. This is typically not an issue for self-registered new users, but for will cause issues for existing users when they sign in with the same user identifier as their user that already exists in the Ping Directory.
The next section will go into the specifics of how you properly handle this.
Handling User Linking with Ping Identity
As we approach the completion of integrating Descope as a federated OIDC provider with Ping Identity, it's crucial to ensure that user accounts are correctly linked. This step is vital to prevent the creation of duplicate user accounts and to provide a seamless login experience for users who may have existing accounts.
Automatic Account Linking
- Navigate to Authentication Policies
- In your PingOne dashboard, go to
Authentication>Authentication.
- In your PingOne dashboard, go to
- Add a New Policy
- Click on the
+ Add Policybutton to create a new authentication policy.
- Click on the
- Specify the Policy Name
- Enter a unique name for the policy that will help you identify it later.
- Select the Step Type
- From the
Step Typedropdown, chooseExternal Identity Provider.
- From the
- Choose Your External IdP
- In the
External Identity Providerdropdown, select the external identity provider that you have set up, in this case,Descope.
- In the
- Set the Required Authentication Level (Optional)
- You can specify an authentication context level that you wish to request from the identity provider.
- This step is optional and can be used for more granular control over the authentication process, such as using selectors on incoming contexts to determine policy flows.
- Save the Policy
- Click
Save and Continueto store the settings of your new policy.
- Click
This is an example of what your policy should look like:

Post-External Authentication
After the user is redirected back from the external identity provider:
- For New Users: If the user does not have an existing account in PingOne, a new user account will be created.
- For Existing Users: If a user account already exists, PingOne will prompt the user to link their new external identity to their existing account.
This linking process ensures that users have a single, unified account, reducing confusion and streamlining the sign-in process across different authentication methods.
By following these steps, you will have effectively enabled user linking within your application, utilizing Ping Identity's built-in capabilities. This will allow users to authenticate with Descope and link their identity to their existing accounts seamlessly.
To learn more about how to specifically use and sign in your new external IdP, you can also read about external IdPs in Ping's documentation here.
If you have any other questions about Descope or our flows, feel reach to reach out to us!