Introduction
This guide covers implementing Self-Service SAML provisioning utilizing Descope flows. This implementation applies to multi-tenant use cases with Descope, where each tenant may have a different SSO configuration, and you would like to allow your tenant administrators to configure the Descope SSO configuration through your application.
To implement this feature within your application, you have to use thesaml-config flow for use by your tenant
administrators, in your administration interface. The saml-config flow is an out-of-the-box flow that enables
you to allow your tenants to configure their SAML configuration through your application. You can view the
flow within the Descope Console.Prerequisites
Before implementing the Self-Service SAML provisioning, there are some prerequisites you will need to implement. These items are defined below:
- SSO Enabled as an authentication method via API and SDK
- Tenant created within Descope
- An existing user within Descope with the
SSO Adminpermission.
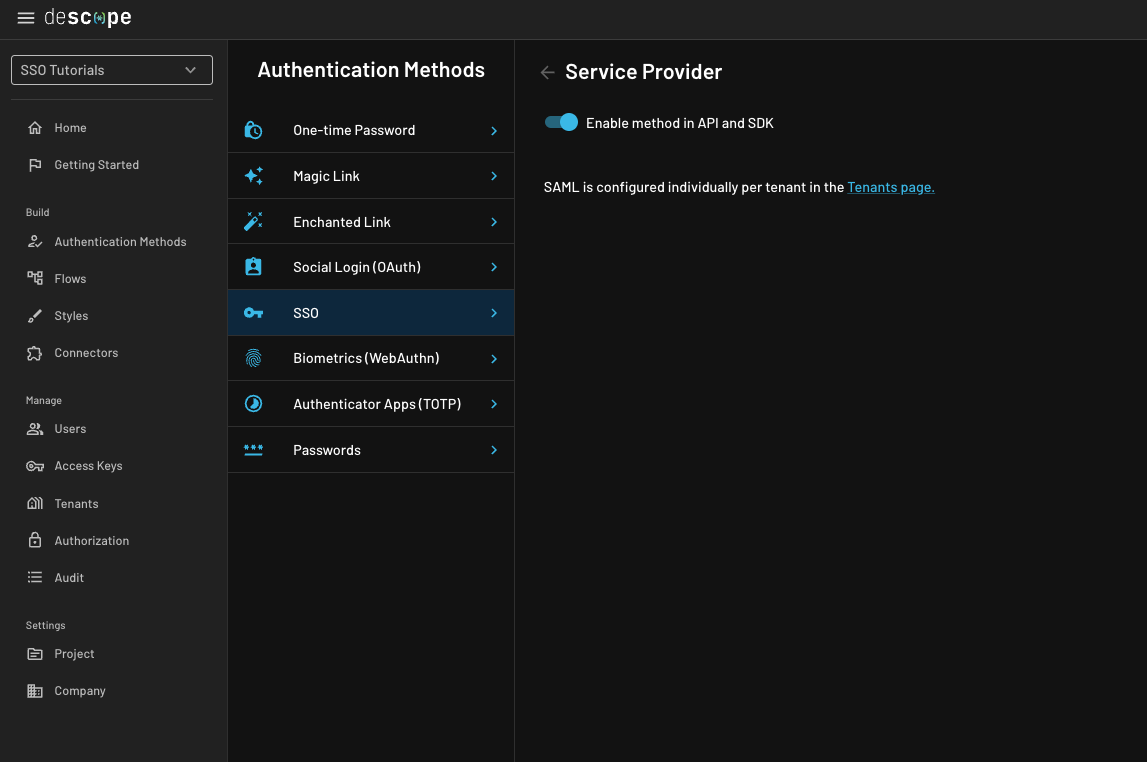
Enable the SSO method via API and SDK
Go to SSO Auth Method within your project, clickService Provider, and then verify that the toggle for Enable method in API and SDK is enabled.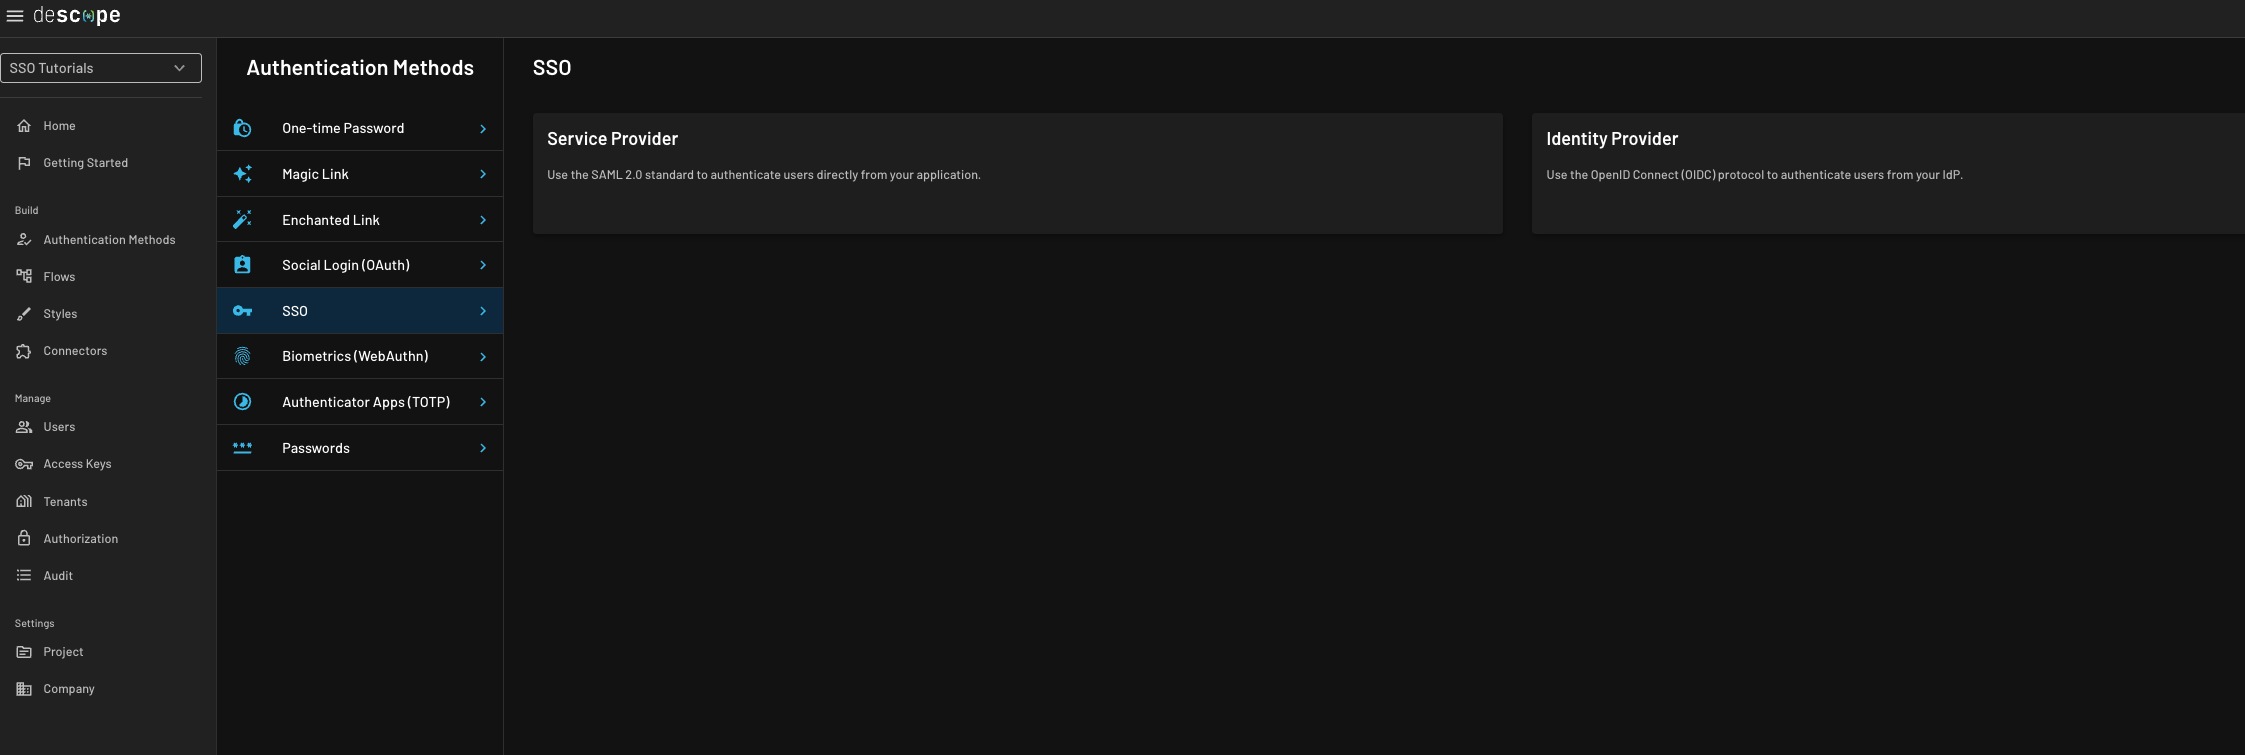
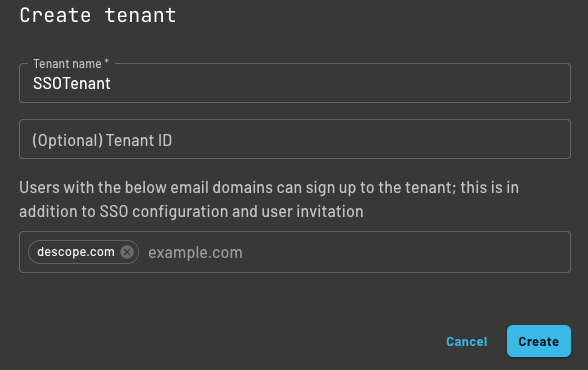
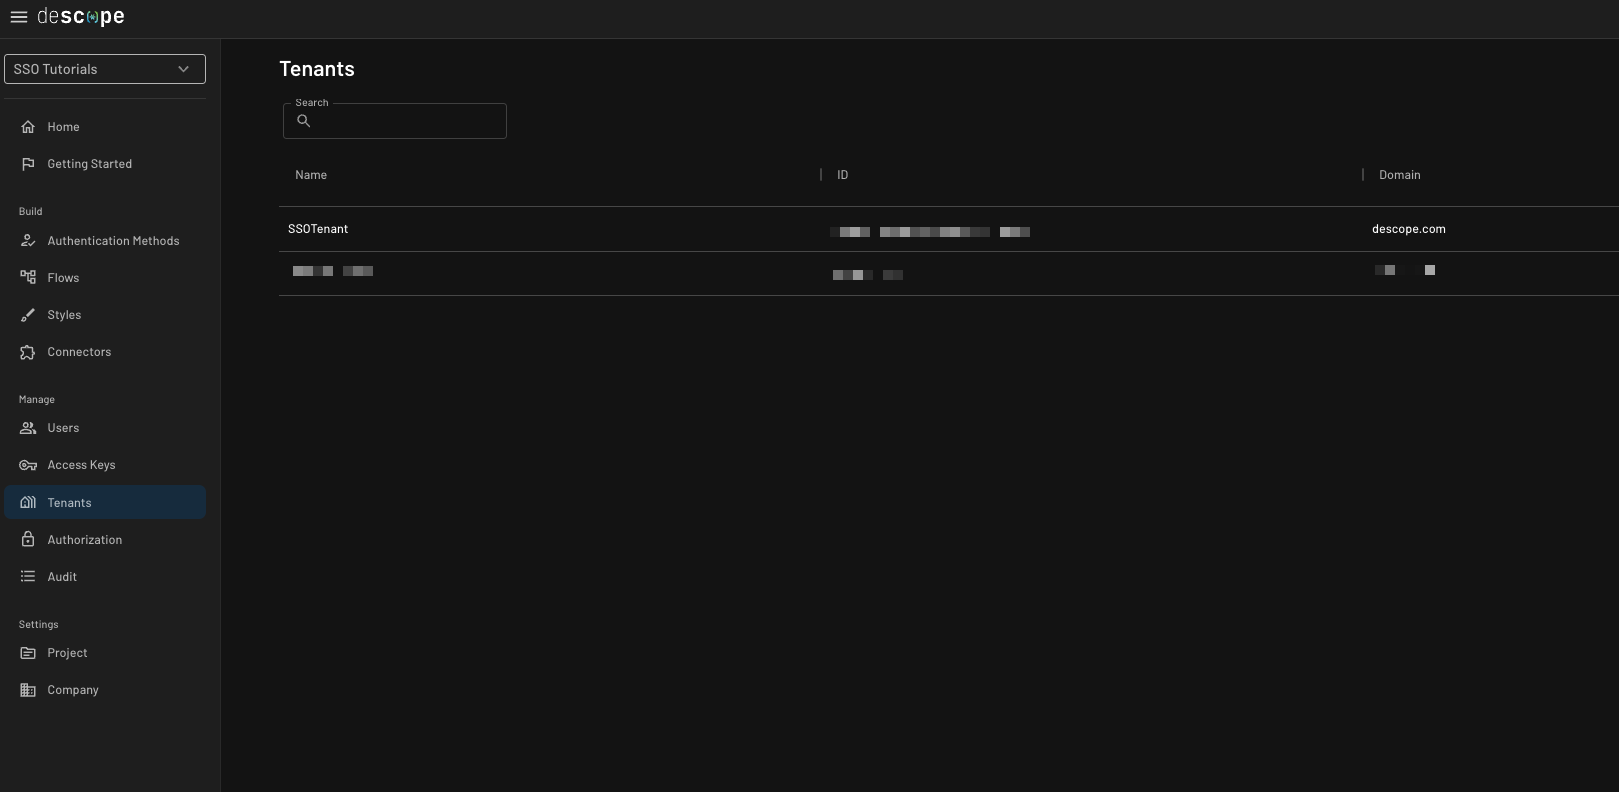
Create a Tenant
Create an applicable tenant for your use case within the Descope Console, the Management SDK, or the Management API.
Here is an example of a tenant created from the Descope Console.
Create or Associate a user with the SSO Admin Permission
If the user does not exist, create it within the Descope Console,
the Management SDK, or
the Management API. When creating the user,
associate the user with the applicable tenant, and associate the Tenant Admin role or another
role with the SSO Admin Permission.
If the user does exist, but is not yet associated with the SSO Admin permission, add the
applicable role which has the SSO Admin permission to the user within
the Descope Console,
the Management SDK, or
the Management API.
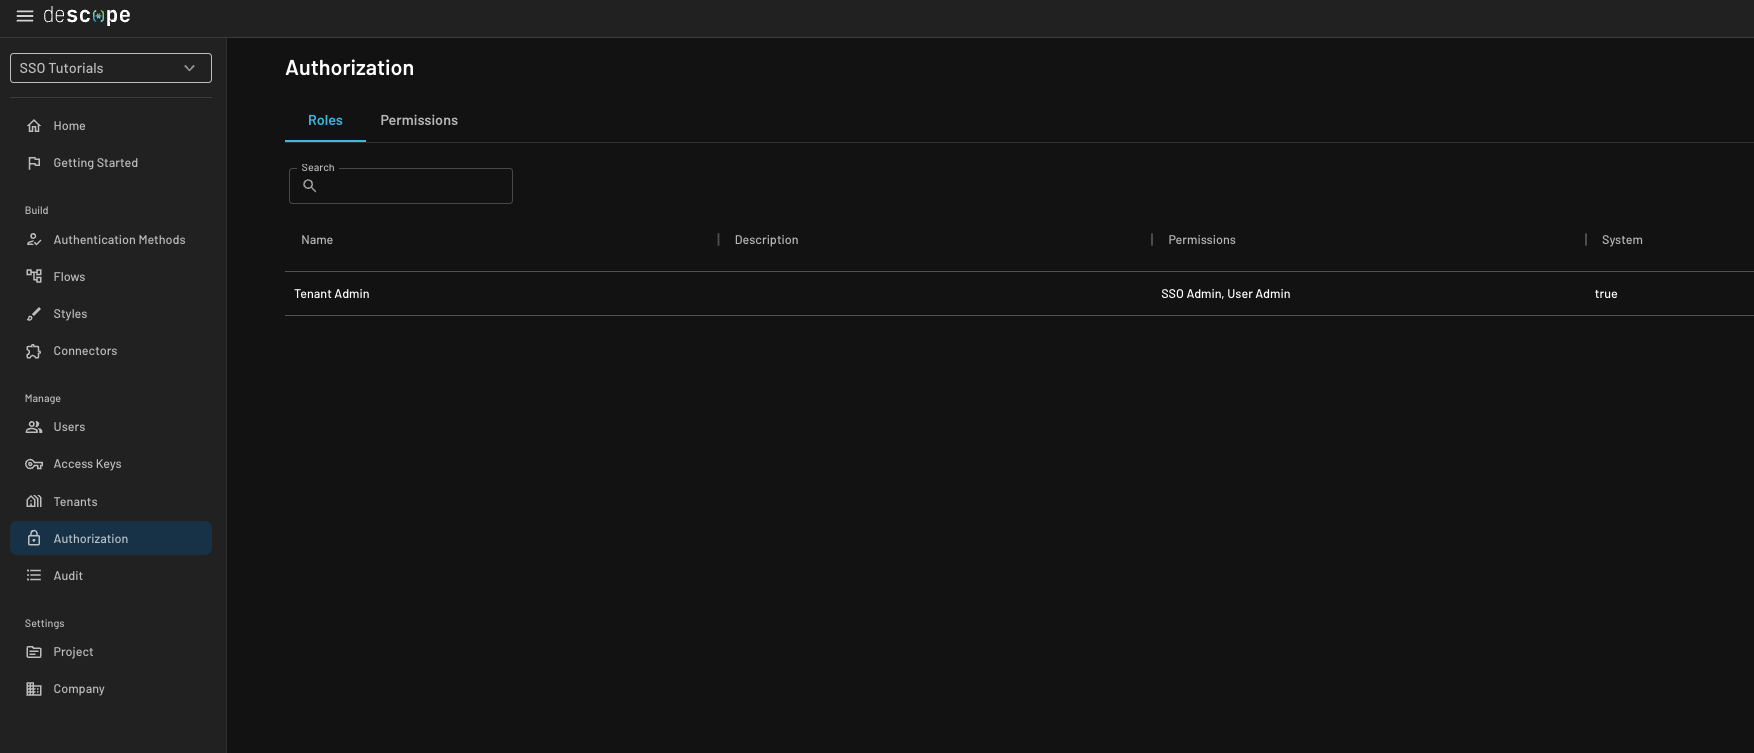
Tenant Admin role, which has the SSO Admin
permission within the Descope console.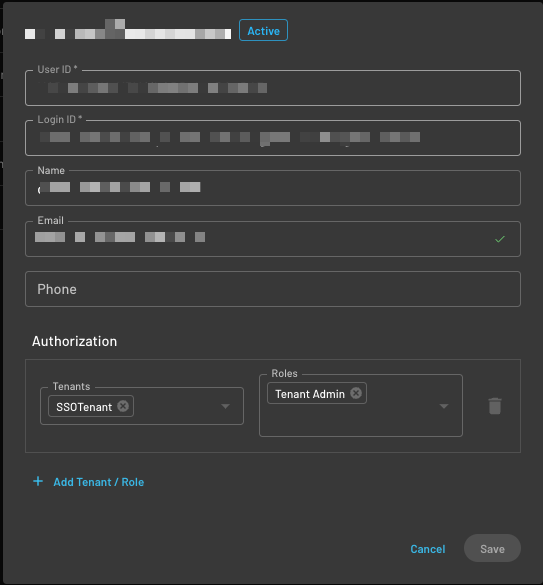
Embed the saml-config flow within your application
Now that you have correctly configured your SSO authentication environment, you can
embed the saml-config flow within your application.
After the user with the SSO Admin permission authenticates within your application,
you will allow them to navigate to a page to configure their tenant's SSO settings.
Upon navigating to this page, you need to validate the user has the applicable role before displaying the flow. Below are examples of how to embed the flow using our SDKs.
import { Descope, useSession, useUser, getJwtPermissions, getSessionToken } from '@descope/react-sdk';
import { useNavigate } from "react-router-dom";

const SsoSetup = () => {
  const { isAuthenticated, isSessionLoading } = useSession()
  const { isUserLoading } = useUser()
  const permissions = getJwtPermissions(getSessionToken(), 'T2TkjYGrVh6ngFjInykigfBzYQIx')
  const isSSOAdmin = permissions.indexOf("SSO Admin") > -1
  const navigate = useNavigate();

  if (!isAuthenticated) {
    console.log("Redirect to login page");
    // Handle redirect to login page here
    return null;
  }

  if (!isSSOAdmin) {
    console.log("Redirect to another authenticated page");
    navigate("/");
    return null;
  }

  return (
    <Fragment>
      { isSSOAdmin &&
        <div className="data-table-wrapper">
          <div style={{ margin: 'auto', maxWidth: '450px', borderRadius: "10px", overflow: "hidden", width: "100%" }}>
            <Descope
              flowId="saml-config"
              onSuccess={(e) => {
                navigate("/");
                console.log('success => ', e)
              }}
              onError={(e) => console.log("Error:", e)}
            />
          </div>
        </div>
      }
      {(isSessionLoading || isUserLoading) && <p>Loading...</p>}
    </Fragment>
  );
};<!DOCTYPE html>
<head>
<script src="https://unpkg.com/@descope/web-component@latest/dist/index.js"></script>
<script src="https://unpkg.com/@descope/web-js-sdk@latest/dist/index.umd.js"></script>
</head>
<html>
<body>
<h1>Self-Service SAML Provisioning</h1>
<p id="container"></p>
<script>
const sdk = Descope({ projectId: '__ProjectID__', persistTokens: true, autoRefresh: true });
var notValidToken
const sessionToken = sdk.getSessionToken()
if (sessionToken) {
notValidToken = sdk.isJwtExpired(sessionToken)
if(!notValidToken) {
const permissions = sdk.getJwtPermissions(sessionToken, '<Users_Tenant_ID>')
const isSSOAdmin = permissions.indexOf("SSO Admin") > -1 // This returns true when the iuser has the "SSO Admin" permission.
if(isSSOAdmin) {
var container = document.getElementById('container');
container.innerHTML = '<descope-wc project-id="' + __ProjectID__ + '"flow-id="saml-config"></descope-wc>';
const wcElement = document.getElementsByTagName('descope-wc')[0];
const onSuccess = (e) => {
console.log(e),
window.location.replace("./index.html") // redirect to another applicable page for the user
};
const onError = (err) => console.log(err);
wcElement.addEventListener('success', onSuccess);
wcElement.addEventListener('error', onError);
} else {
console.log("Redirect to another authenticated page")
// Handle redirect to another authenticated page
}
}
} else {
console.log("Redirect to login page")
// Handle redirect to login page
}
</script>
</body>
</html>"use client";
import dynamic from "next/dynamic";
import { AuthProvider, useDescope, useSession, useUser } from '@descope/react-sdk'
import { useCallback } from 'react'
const DescopeWC = dynamic(
async () => {
const { Descope } = await import("@descope/react-sdk");
const EnhancedDescope = (props: React.ComponentProps<typeof Descope>) => (
<Descope {...props} />
)
EnhancedDescope.displayName = "EnhancedDescope"
return EnhancedDescope;
},
{
ssr: false,
}
);
const SsoSetup = () => {
const { isAuthenticated, isSessionLoading } = useSession()
const { isUserLoading } = useUser()
const permissions = getJwtPermissions(getSessionToken(), 'T2TkjYGrVh6ngFjInykigfBzYQIx')
const isSSOAdmin = permissions.indexOf("SSO Admin") > -1
const navigate = useNavigate();
if (!isAuthenticated) {
console.log("Redirect to login page");
// Handle redirect to login page here
return null;
}
if (!isSSOAdmin) {
console.log("Redirect to another authenticated page");
navigate("/");
return null;
}
return (
<Fragment>
{ isSSOAdmin &&
<div className="data-table-wrapper">
<div style={{ margin: 'auto', maxWidth: '450px', borderRadius: "10px", overflow: "hidden", width: "100%" }}>
<Descope
flowId="saml-config"
onSuccess={(e) => {
navigate("/");
console.log('success => ', e)
}}
onError={(e) => console.log("Error:", e)}
/>
</div>
</div>
}
{(isSessionLoading || isUserLoading) && <p>Loading...</p>}
</Fragment>
);
};Utilizing the saml-config flow
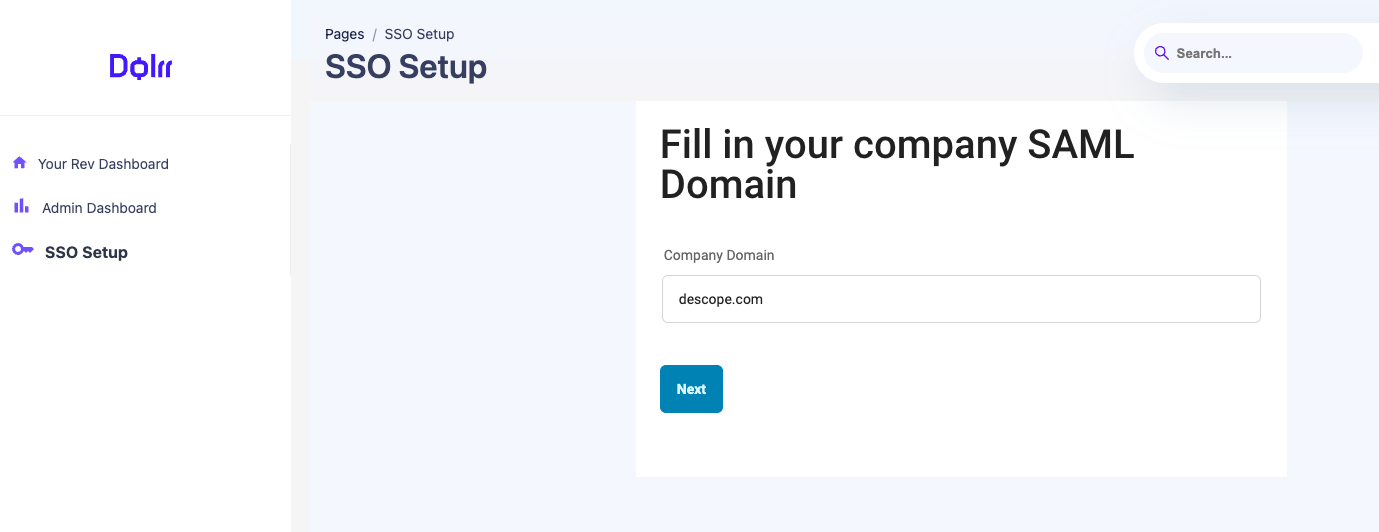
This section demonstrates how the user will step through the Self-Service SAML provisioning upon authorized loading of the flow. For this example, the Identity Provider will be Okta, and will map users with thedescope.com domain to the tenant.Configure Company Domain
The first step is configuring the tenant's company domain. This domain is utilized during user registration and will automatically map users to the tenant based on the domain in their email address.
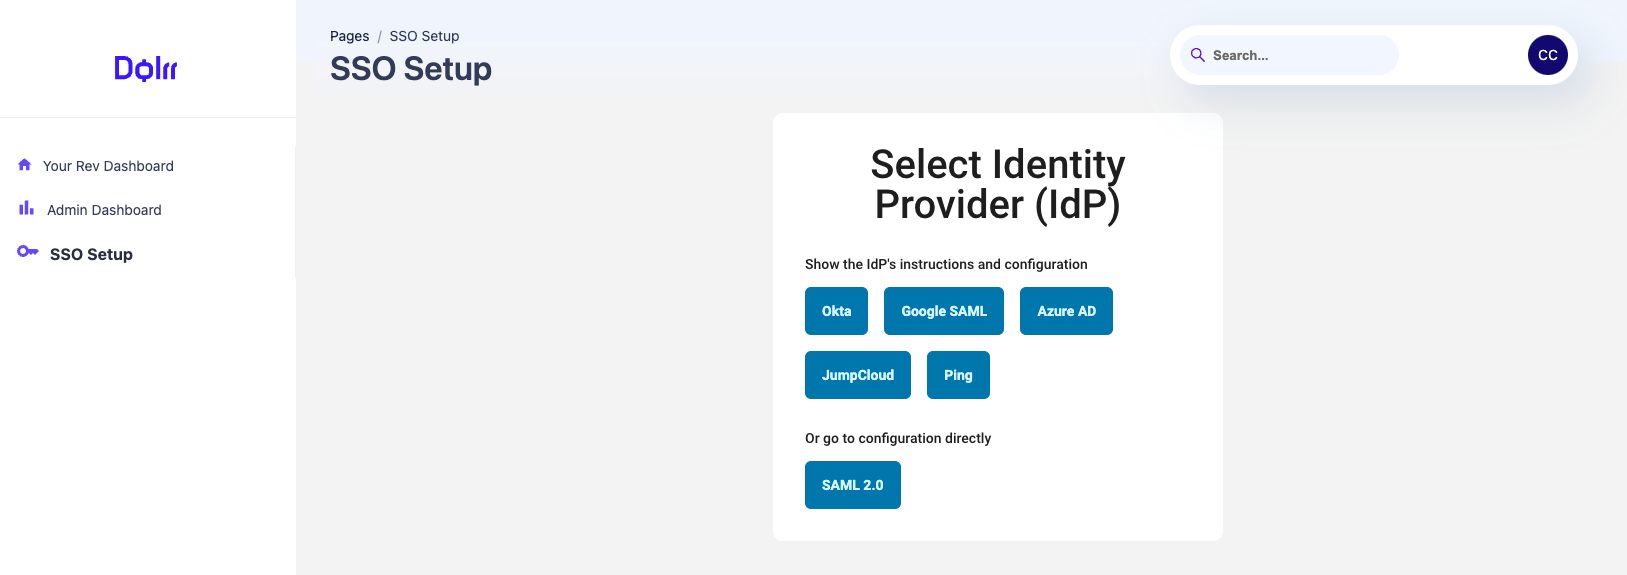
Select Identity Provider
You will now select your IdP. You can select one provider with detailed instructions, or configure generic SAML 2.0 directly.
Note: This screenshot could become outdated as more providers are added to this flow over time.
Step Through the Configuration Guide
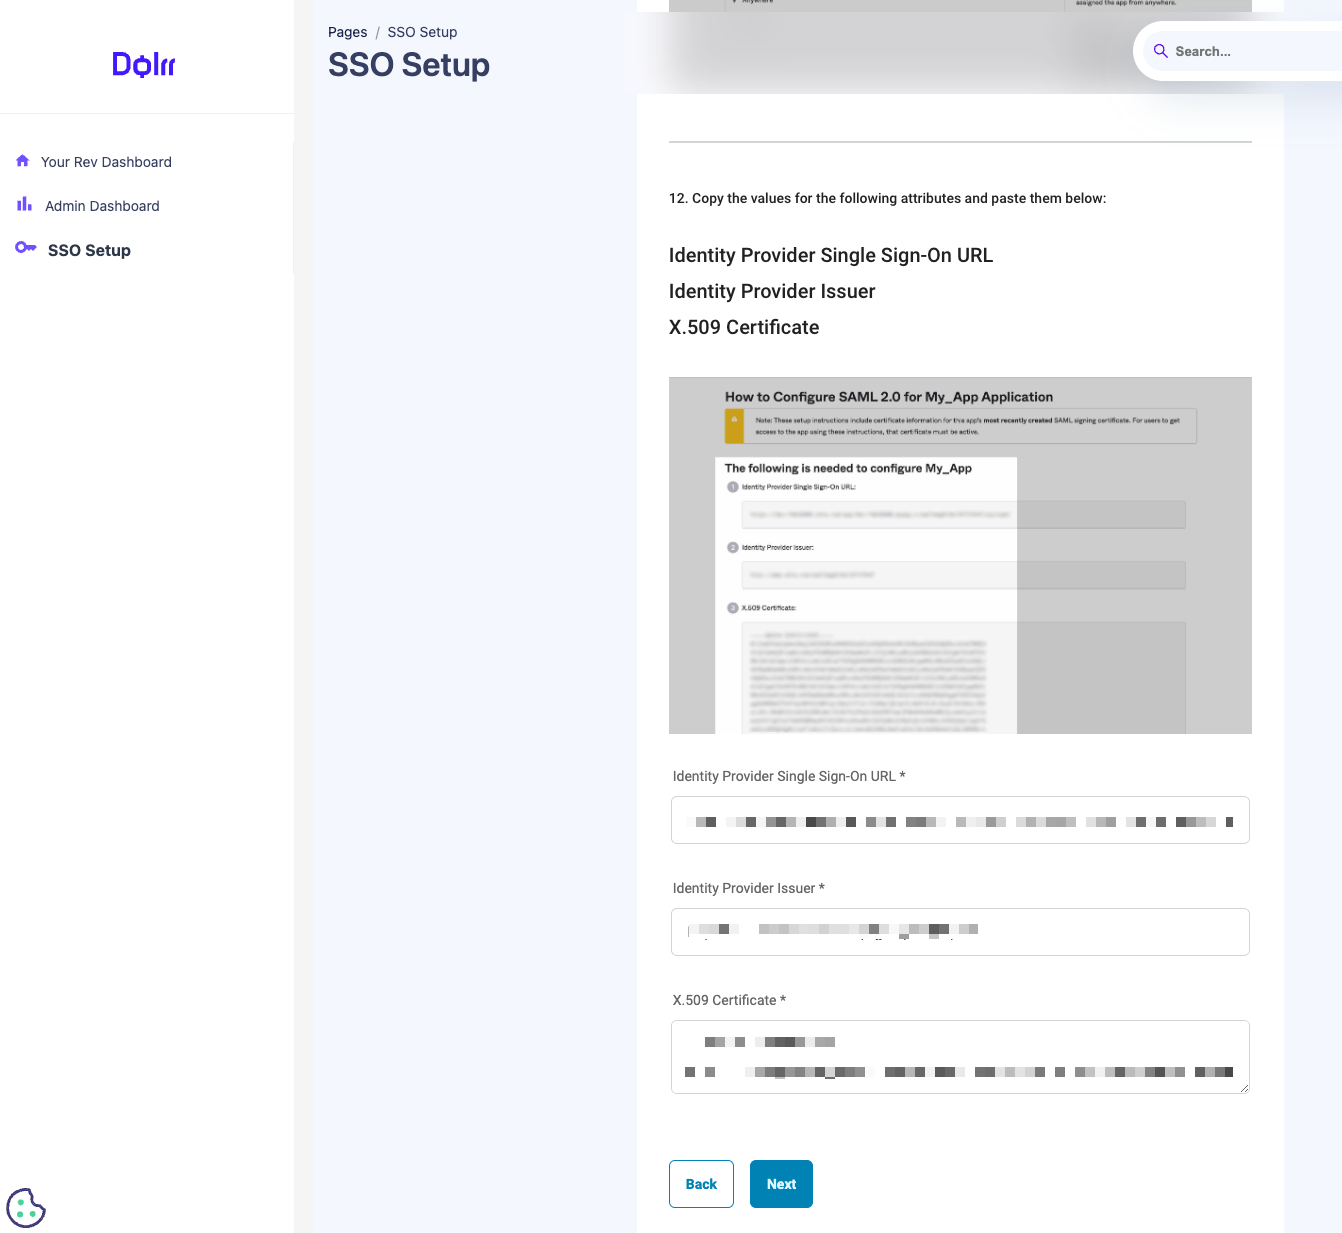
When configuring SAML using one of the methods that have the instructions guide within the flow, the user will see detailed step-by-step instructions on creating a SAML application within their IdP. The necessary details to configure within the provider are displayed to the user for the applicable tenant for easy copy/paste completion of the IdP configuration.
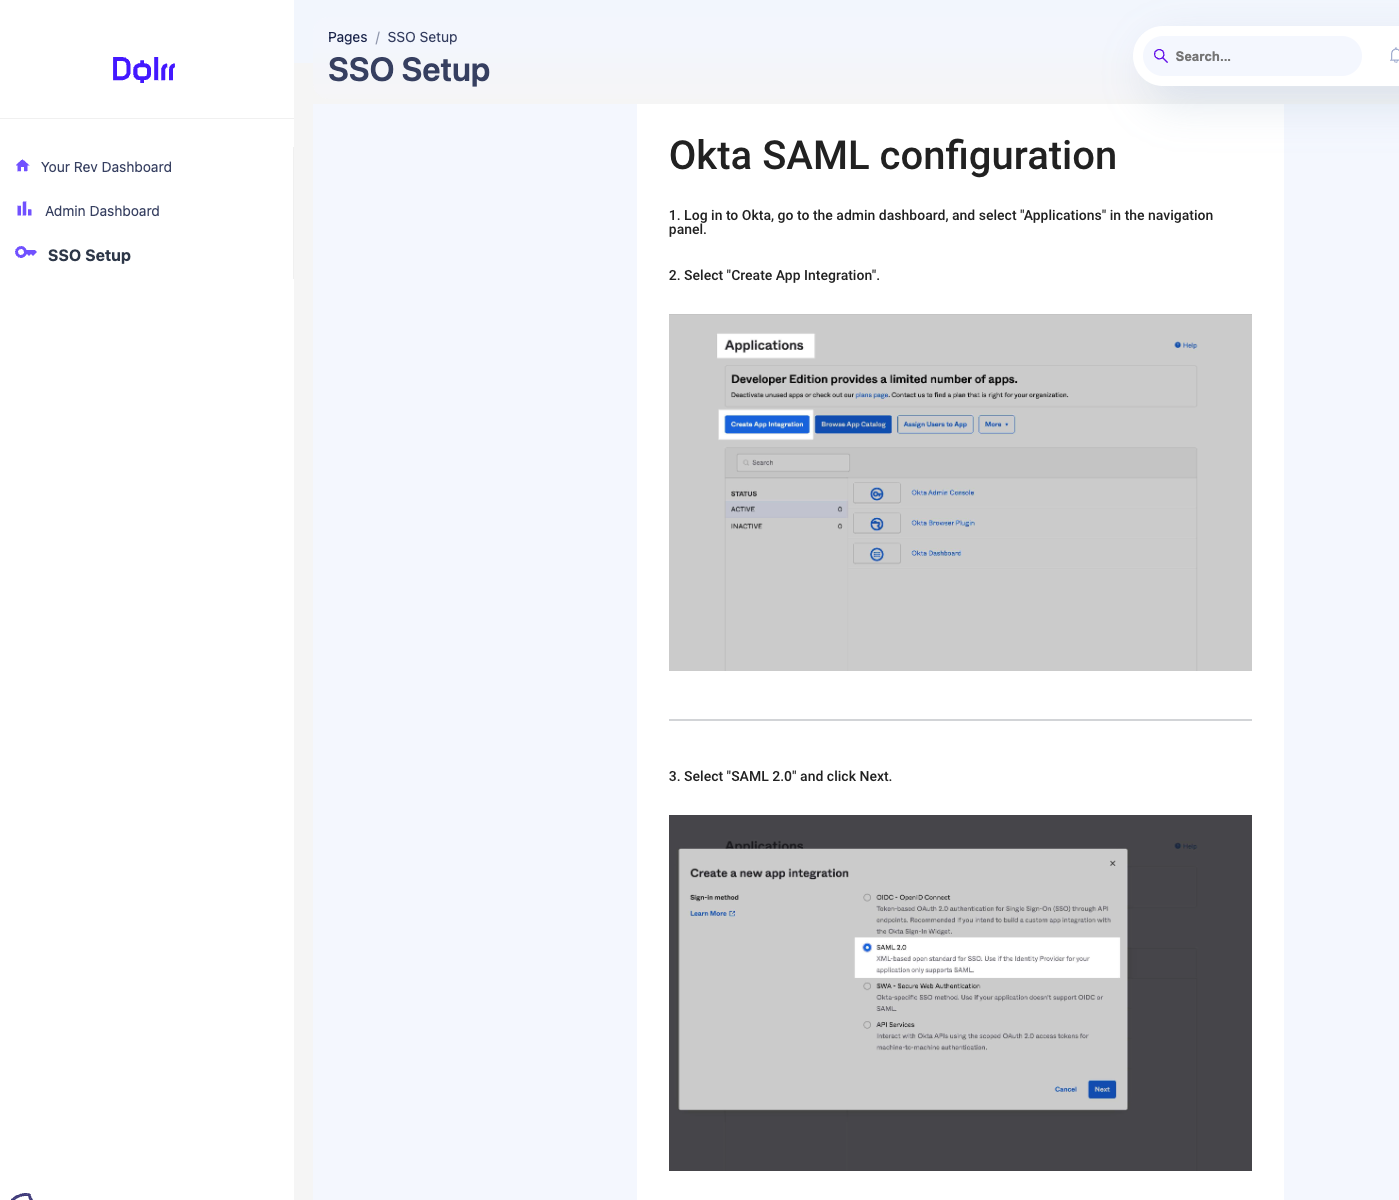
Once the user has created the application within the IdP, they will fill out the necessary details about the SAML application in the form and click next.
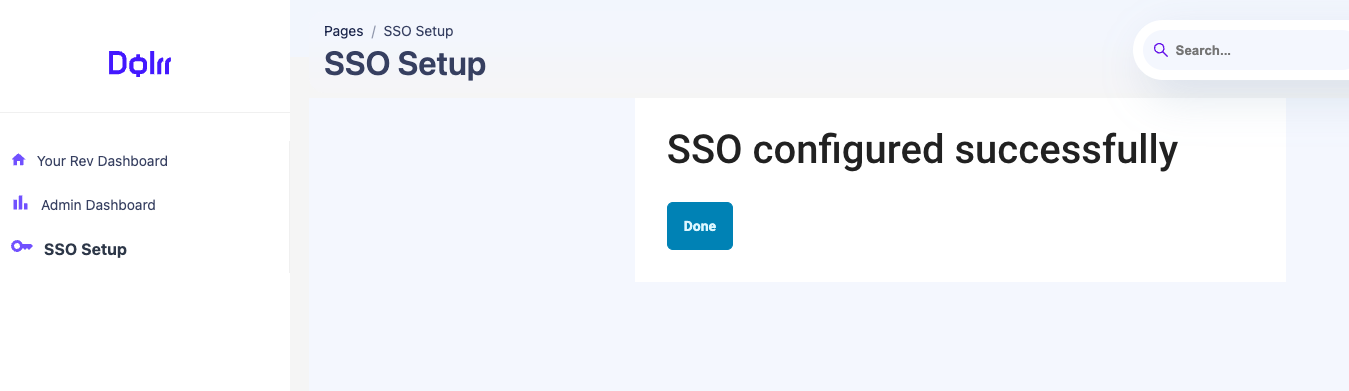
Upon the completion, the user will see the success message below.
Account Recovery Login ID Flow
By default, once theTenant Admin logs in successfully via SSO, their original login ID that was added by the Descoper (Descope Console admin) will be replaced with the SSO-specific one.This can be controlled via a flag in the Descope Console, under Authentication Methods -> SSO -> Convert existing user to SSO-only after successful SSO login, and is enabled by default to essentially force SSO-based login in the future for the Tenant Admin user. 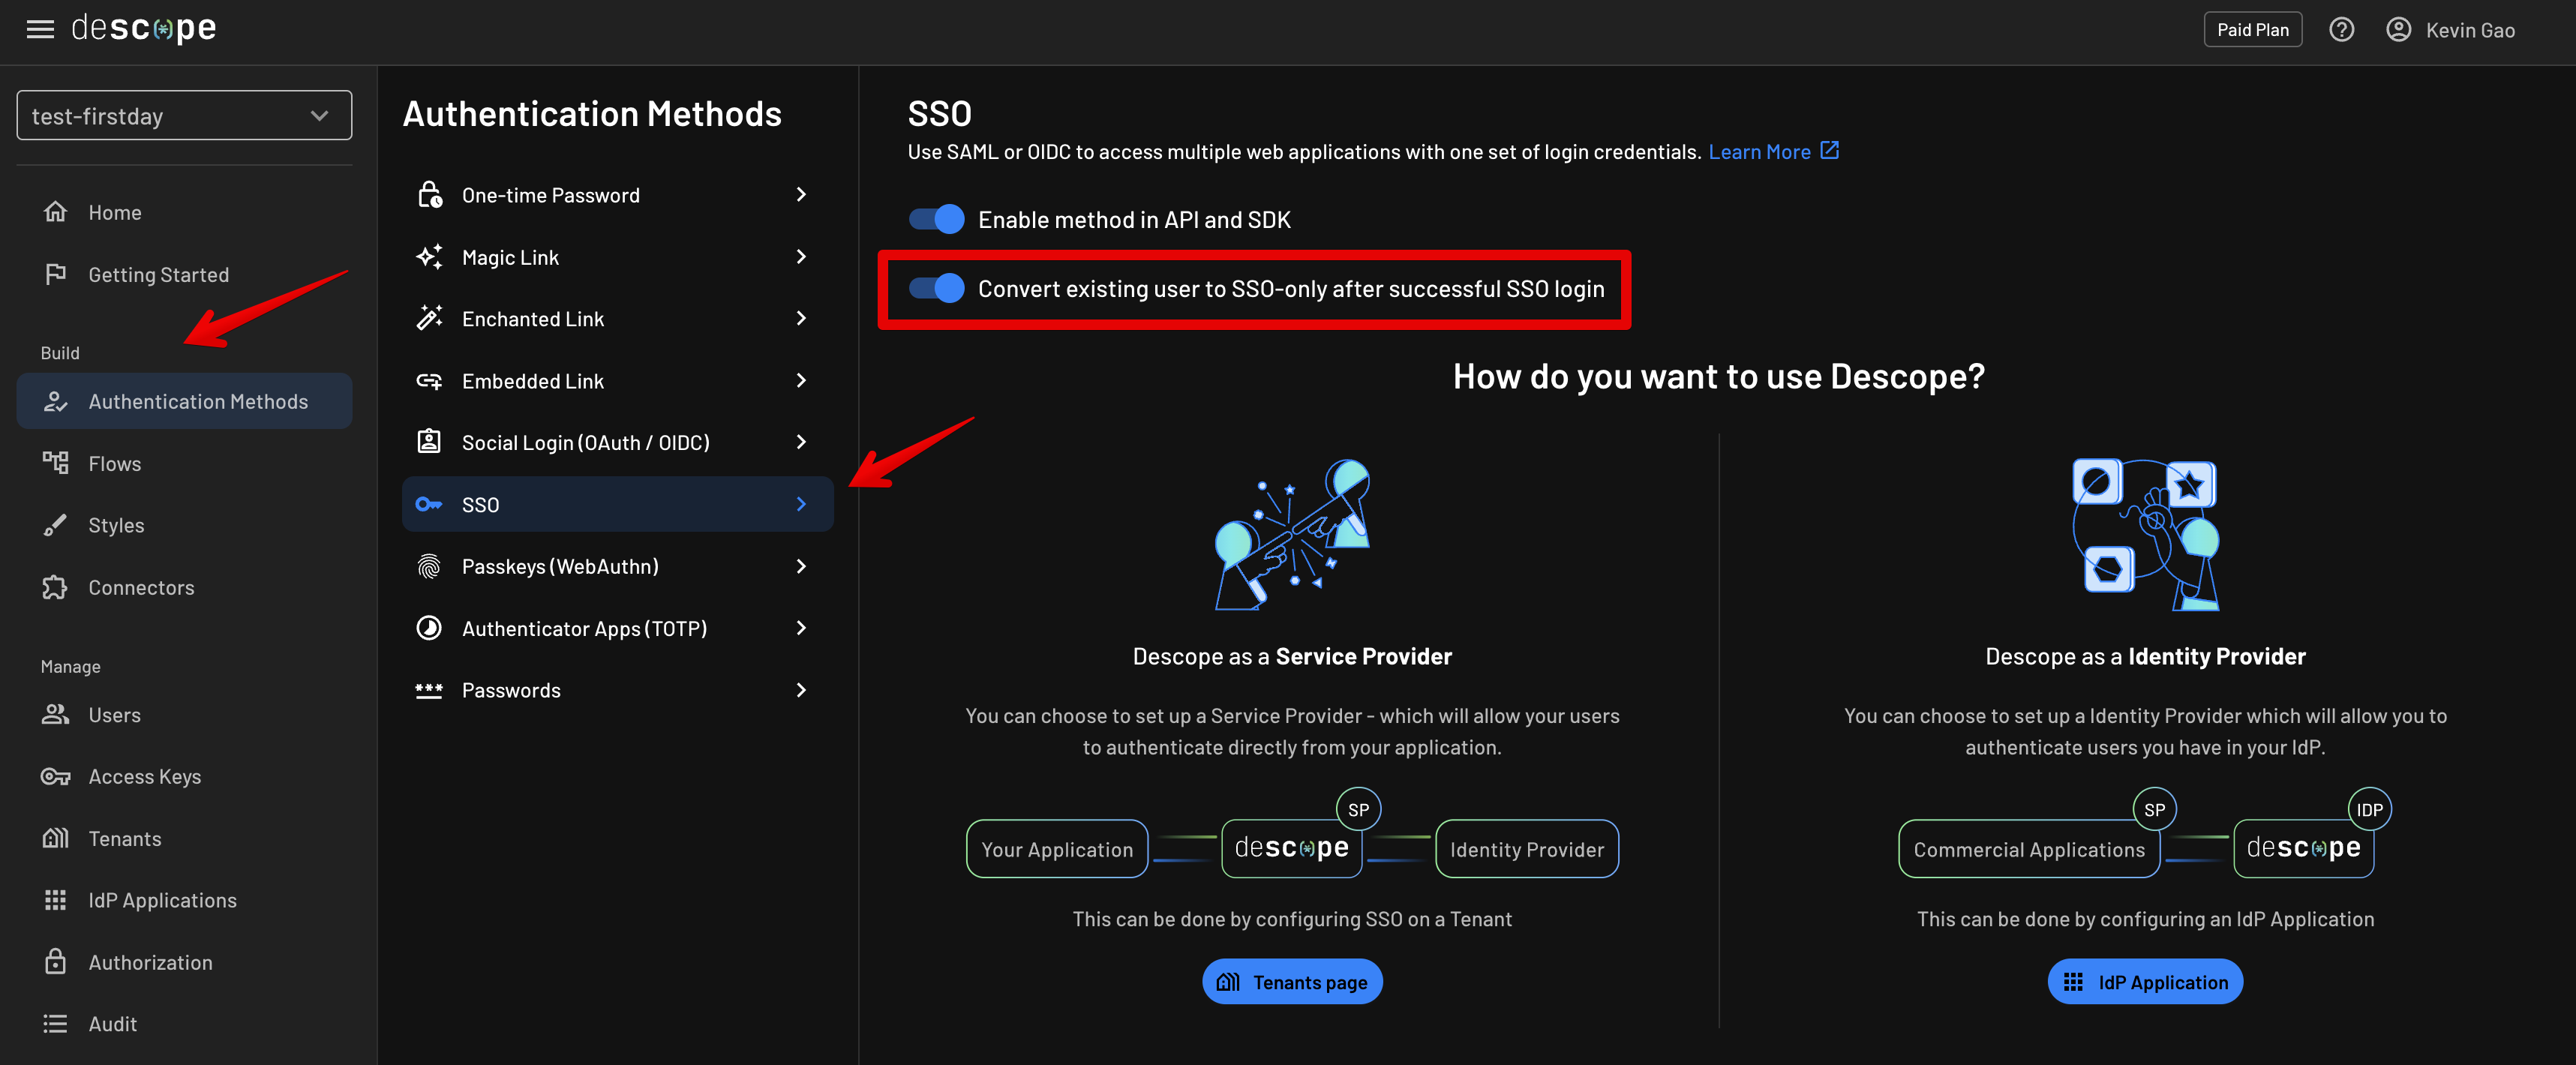
saml-config flow above in your own application and a Tenant Admin makes an accidental change to the SSO configuration, this can prevent them from logging in and changing the SAML configuration back to the correct settings.
Therefore, if SSO login is rendered inoperational as a result of this, you can add the ability to verify and merge an additional email login ID to the user by including the Update User action in the flow like so: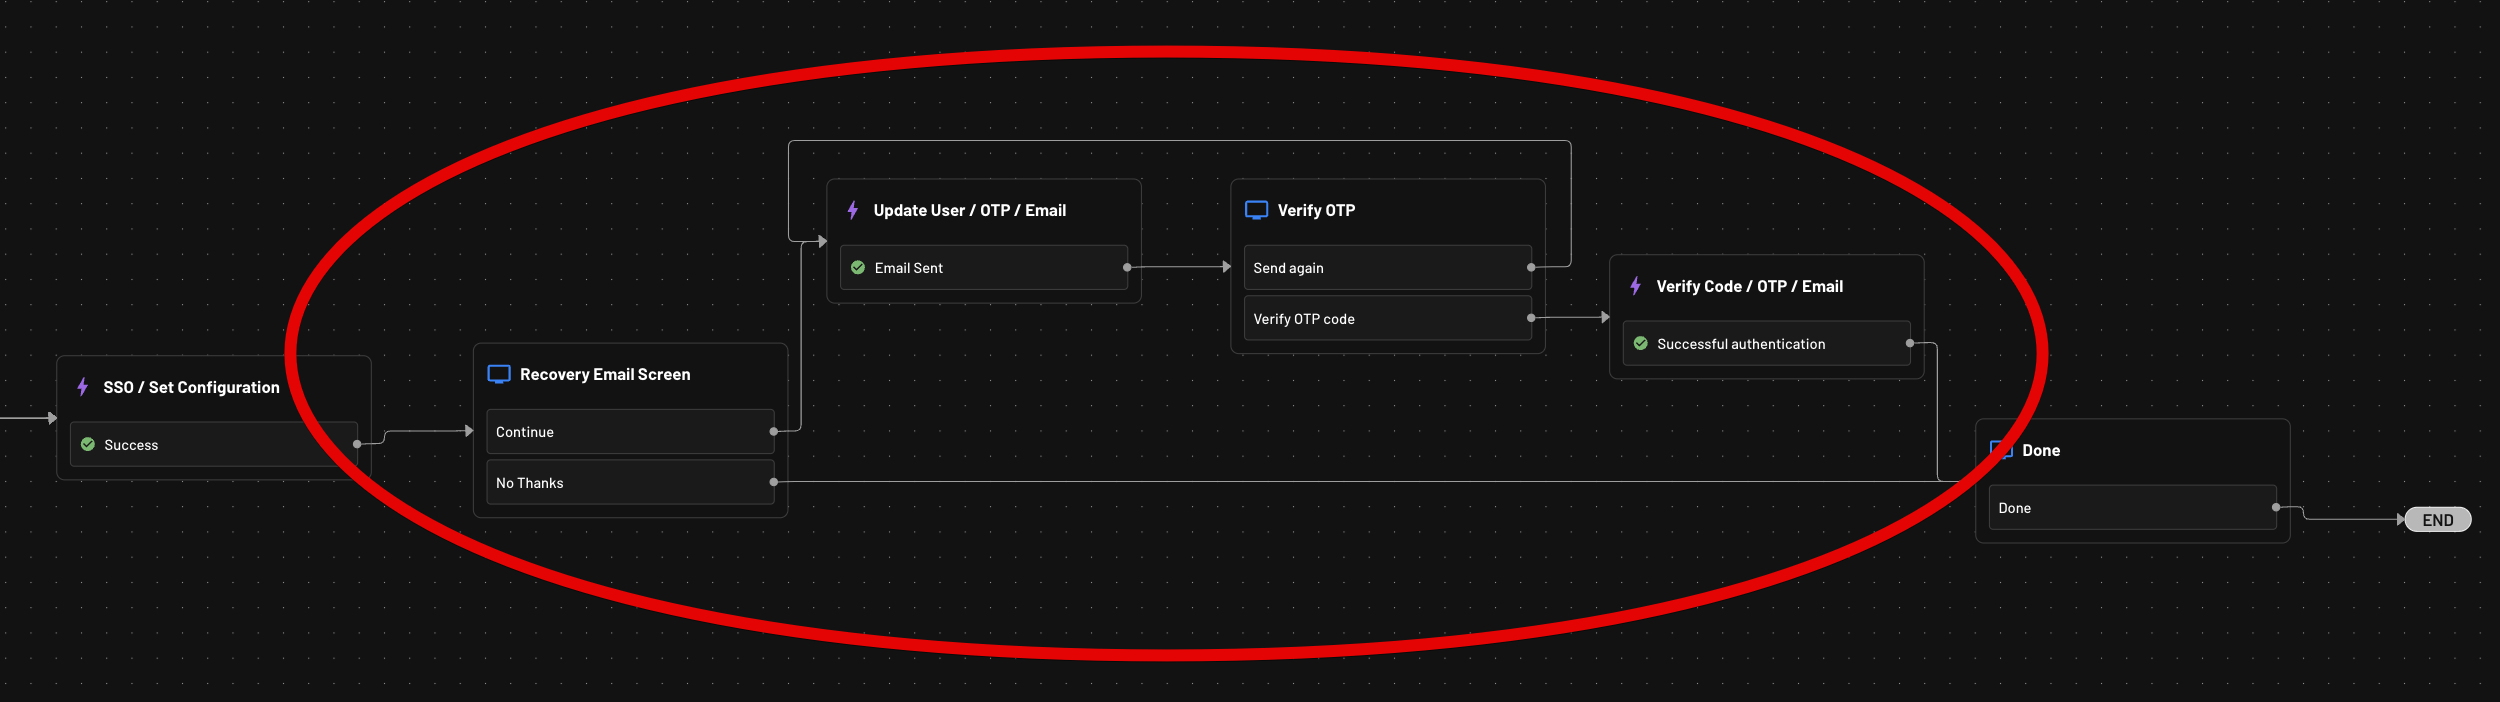
Update User / Email action to the flow, this will allow you to verify and re-add their original email back as a login ID. Or, you can do an Update User / OAuth action to add social login as an additional login ID as well. You will need to make sure you select Add to Login IDs under the Update User action, in order for the login IDs to be merged: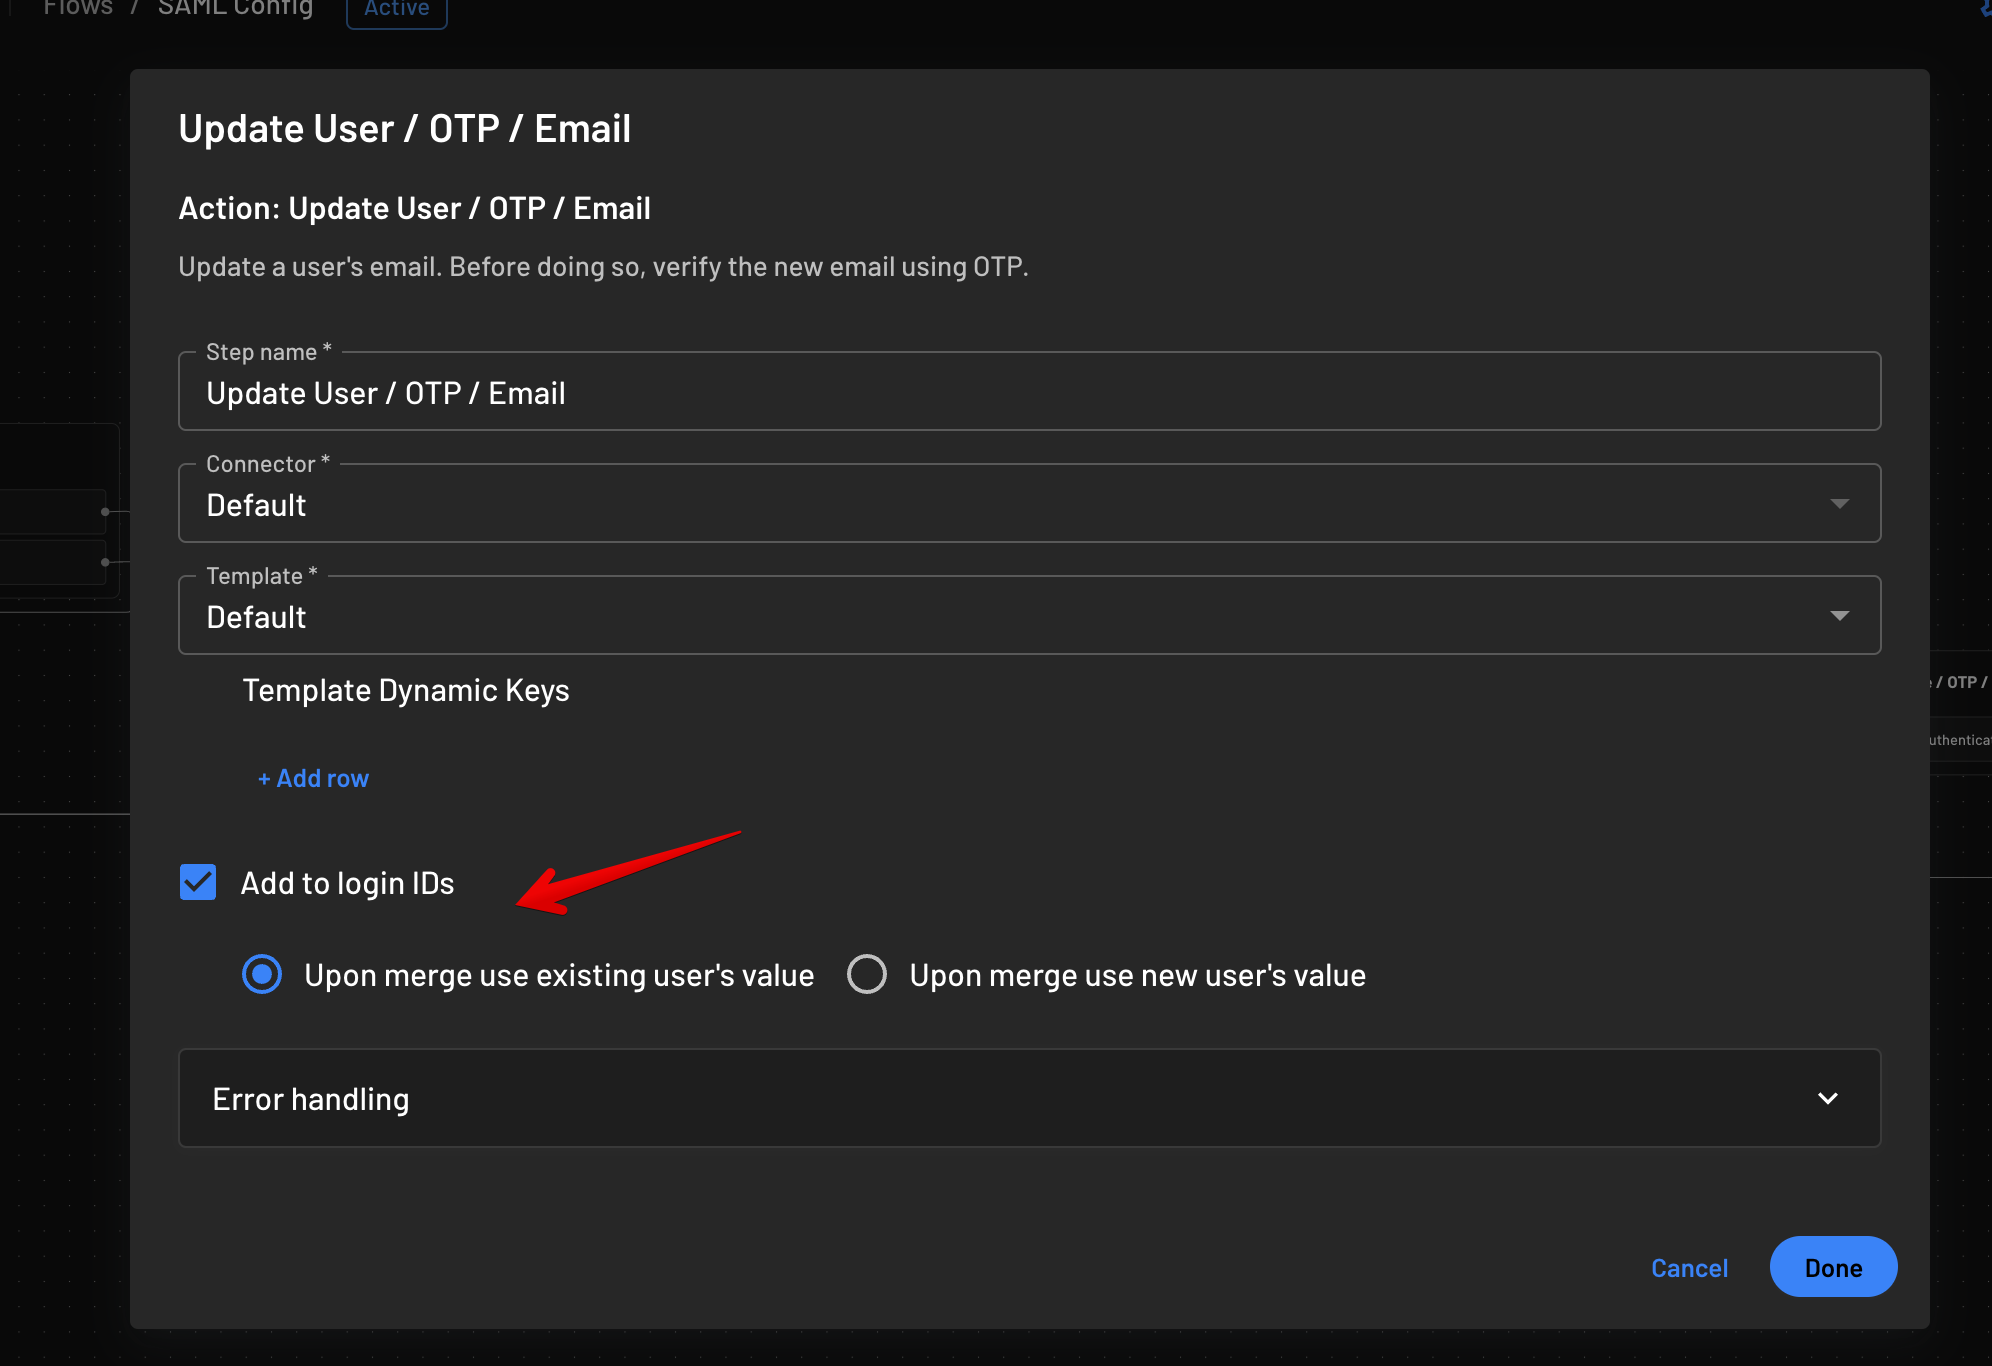
Sign-In with SAML users
At this point, SAML is now configured within your tenant and ready to be used. You can now log out and test signing in with SAML.