ZeroBounce Connector
ZeroBounce is an email validation service that checks whether an email address is valid, deliverable, and not a spam trap. Descope's ZeroBounce connector runs that check as a step inside your authentication flows.
Sending a one-time code or magic link to a fake or mistyped address produces a bounce, and repeated bounces lower the sending reputation of your email domain. Validating the address first keeps those bounces off your domain.
Built-in email validation
Descope also has a built-in Validate Email Address action, which checks the address format and looks up the domain's MX records without a third-party account. It confirms that a domain can receive email, but not that the mailbox exists. Separate built-in actions check whether an address belongs to a free email provider or is a disposable address. Reach for ZeroBounce when you need signals none of those cover, such as spam trap detection or a per-mailbox status.
Note
ZeroBounce is a paid third-party service. Each validation request consumes credits from your ZeroBounce account, and your ZeroBounce plan governs pricing and rate limits.
Setting Up the ZeroBounce Connector
To integrate the connector, follow the steps below:
1. Navigate to Connector
- Visit the Connectors page in the Descope Console.
- Choose ZeroBounce from the list of connectors.
2. Connector Setup
Have your ZeroBounce API key ready.
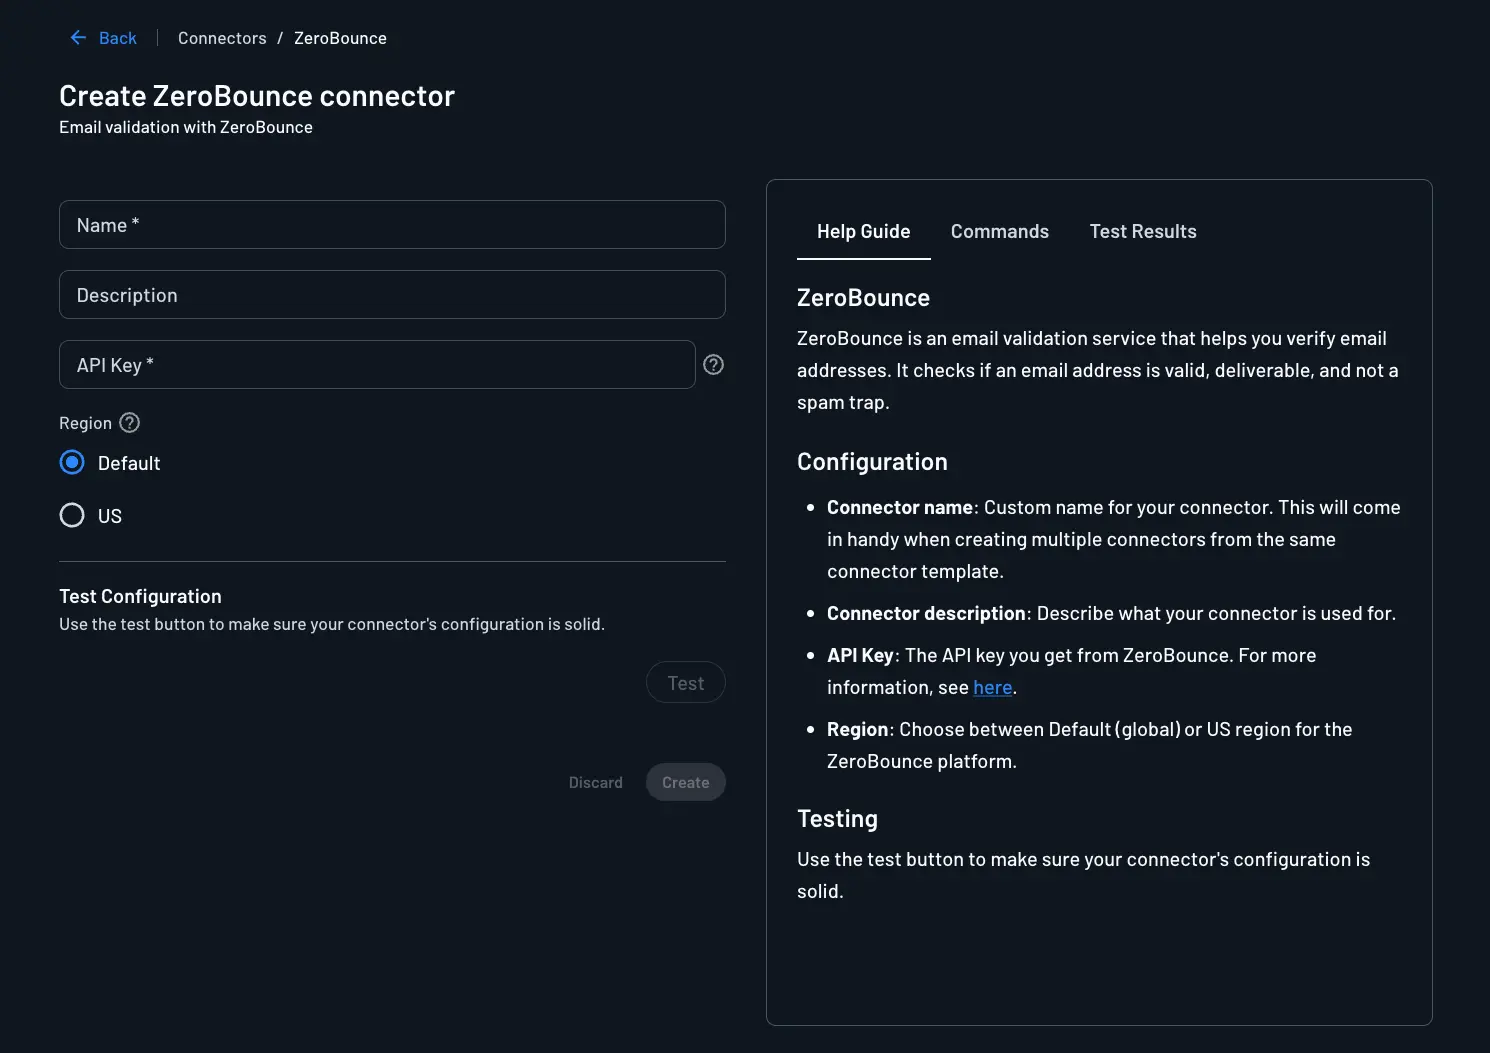
Enter the following information to configure the connector:
- Name: Custom name for your connector.
- (Optional) Description: Describe what your connector is used for.
- API Key: The API key from your ZeroBounce account. For more information, see the ZeroBounce API documentation.
- Region: The region your ZeroBounce account belongs to. Select Default for the global endpoint or US for the US endpoint.
3. Test & Save
- Validate your configuration by clicking the
Testbutton and reviewing the Test Results tab. - Conclude the setup by selecting
Create.
Implementing the ZeroBounce Connector in Your Flow
1. Select or Create a Flow
- Navigate to the Flows page of the Descope Console.
- Select an existing flow or create a new one.
2. Add the Connector to the Flow
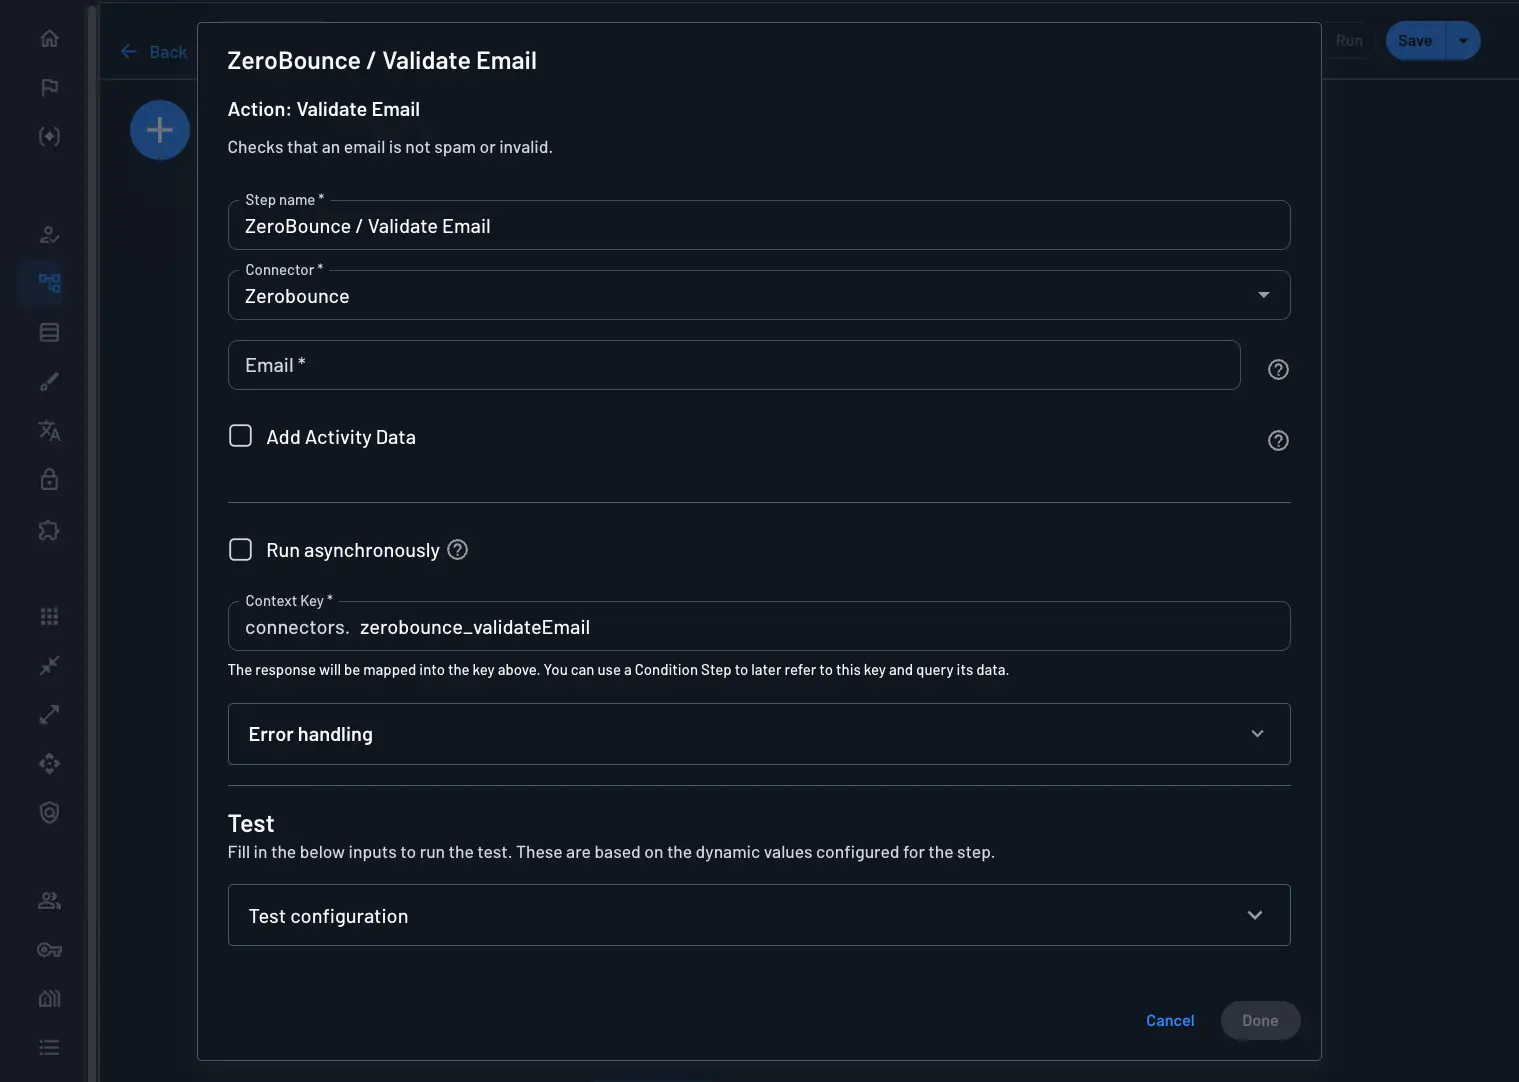
Click the blue plus icon in the flow builder, select Connector, and choose the ZeroBounce / Validate Email action.
Fill in the action parameters:
- Email: The address you want to validate. Enter it manually or set it dynamically from an earlier step, for example
{{form.email}}or{{user.email}}. - (Optional) Add Activity Data: Append ZeroBounce activity information about the address to the validation result.
Place the step before whichever step sends the email, so an address failing validation never triggers a send.
3. Handle the Response
Descope maps the connector's response into the Context Key, which is prefilled as connectors.zerobounce_validateEmail. You can rename the key if you prefer.
Add a condition step immediately after the connector to refer to this context key and query its data. The response carries the fields returned by ZeroBounce, among them:
statusandsub_status: the verdict for the address, and the reason behind it when there is one.free_email: whether the address belongs to a free email provider.domain: the domain of the address.
For example, branch on connectors.zerobounce_validateEmail.status. For the full list of fields and the values each one can hold, see the ZeroBounce email validation documentation.
When ZeroBounce cannot be reached or rejects the request, the step returns an error status rather than a verdict. Handle that branch in your flow so a validation outage does not lock users out of signing up.